Try the new IKO website at https://beta.ikointl.com/
Help< > Teaching Tips
Author: Marica Moda
Boost Your Confidence on the Water: Essential Tips for Kitesurfing Success
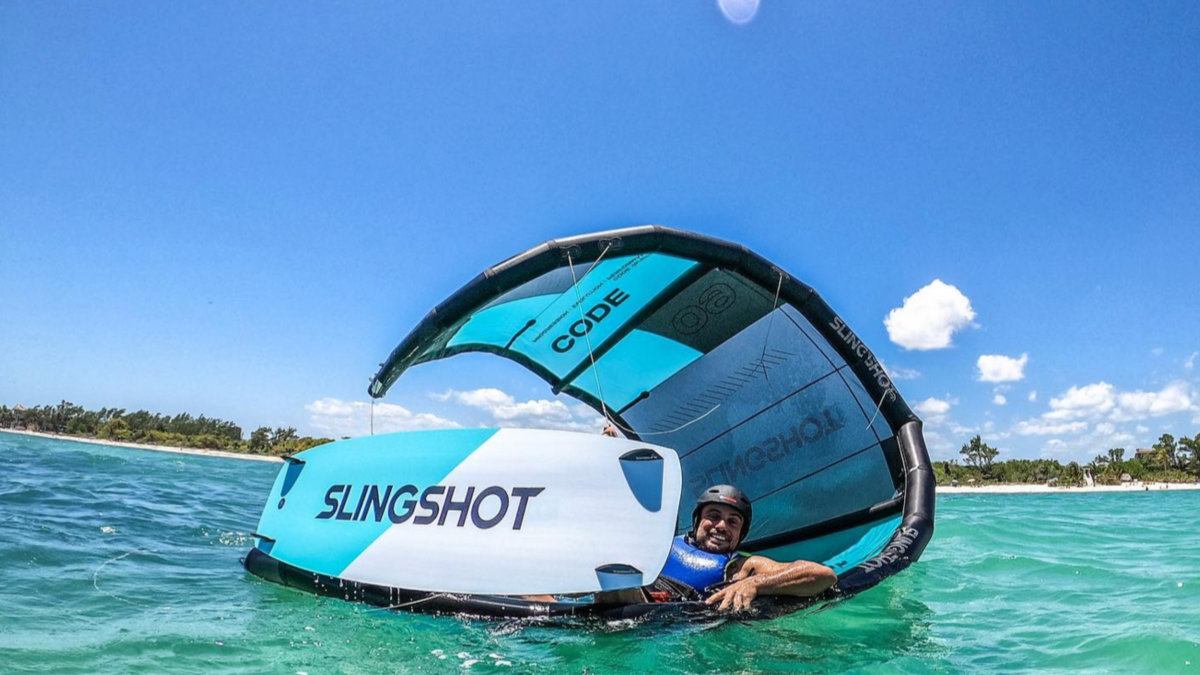
Kitesurfing is an adrenaline sport that mixes board riding with wind power for an exciting rush. It can be thrilling yet intimidating for beginners. To fully enjoy and master kitesurfing, confidence is key. Whether catching your first wind or leveling up, here are tips to boost your confidence on the water!
Nailing the Basics: Your Ticket to Kitesurfing Confidence
Mastering kitesurfing starts with the basics. Dive into lessons with an IKO-certified instructor who will guide you through the fundamentals, such as spot assessment, gear handling, how to use safety systems, launch, and land as a pilot, kite control, body dragging, steady-pull, and water starts. Also, learning how to perform self-landing during your lessons is crucial from the beginning. This skill ensures you're equipped to handle your kite safely when needed.
Why choose an IKO instructor?
- Top-Notch Training: IKO instructors provide a standardized, high-quality safety and best practices curriculum.
- Global Recognition: IKO certification is recognized worldwide, making it easy to continue improving wherever you kite. Get your IKO Vcard with an IKO instructor!
- Safety First: IKO instructors are trained to handle any situation on and off the water so you can confidently learn.
Take your time—each mastered skill builds confidence and brings you closer to pro status. The IKO Assistant Training Course - ATC is a fantastic next step in advancement. It’s ideal for independent kiters eager to enhance their skills and become a kitesurf specialist. Plus, it’s the first step towards a kitesurfing career with IKO. For more info, visit the IKO website.
Master the Skill: The Secret to Consistent Kitesurfing Practice
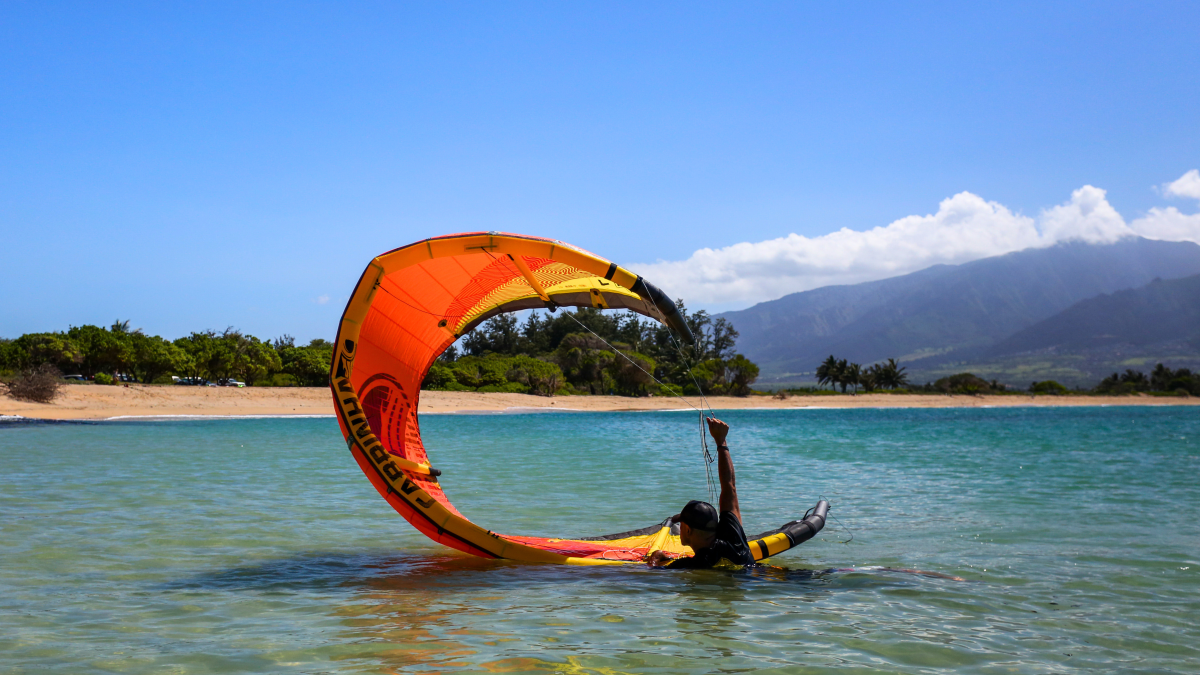
Kitesurfing improves with regular practice. The more time you spend on the water, the better you'll know your gear and handle different conditions. You'll become a versatile kiter by exploring various spots, ready for any challenge. Always prioritize safety by practicing techniques like self-rescue regularly. As you gain experience, learn how to perform self-rescue, self-launching, and pack down in deep water with an IKO instructor to enhance your skills further.
Consider attending the IKO Assistant Training Course - ATC to boost safety and skills. It’s your gateway to enhancing riding skills and mastering essential safety techniques like self-launching, board and kiter recovery, and assisting a fellow kiter. For more details, follow IKO on Instagram and Facebook, and check out the IKOIntl YouTube channel.
Get to Know Your Gear: The Key to Kitesurfing Confidence
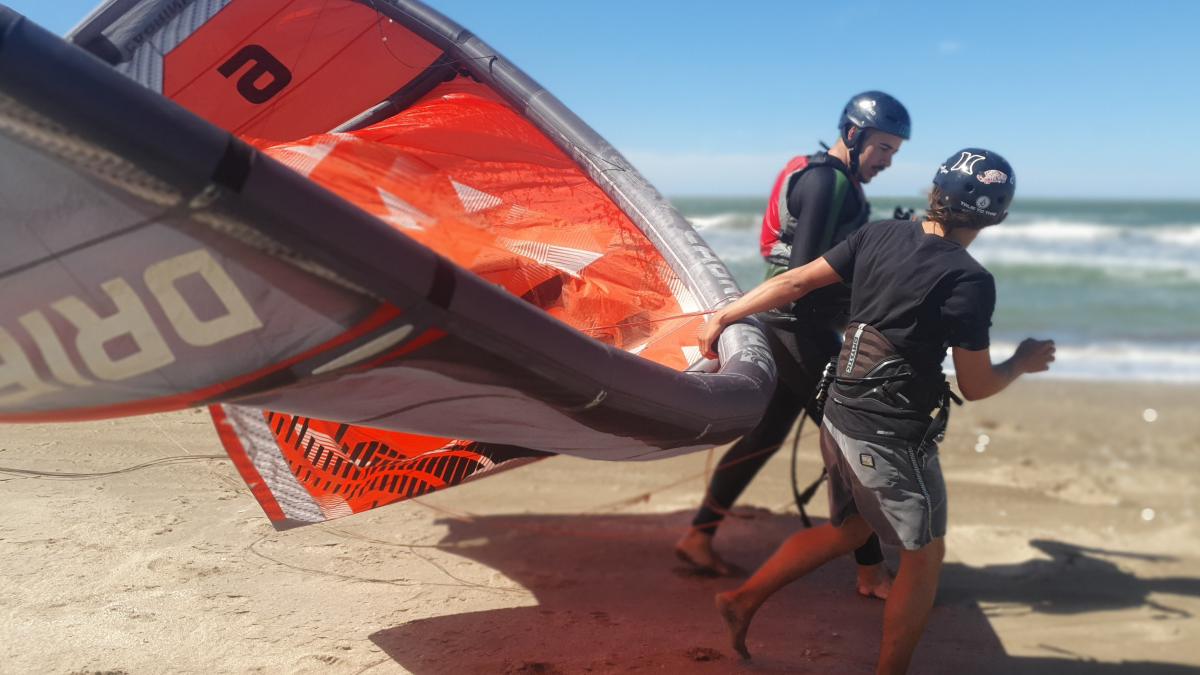
Your kitesurfing gear is your key to success. Master how to set up, pack, store, and repair your kite, manage your lines, and adjust your harness, helmet, and impact vest or buoyancy aid. Knowing and keeping your gear in top shape will boost your confidence and safety.
The IKO Assistant Training Course - ATC will give you all this information and more.
Take Small Steps and Savor Every Win
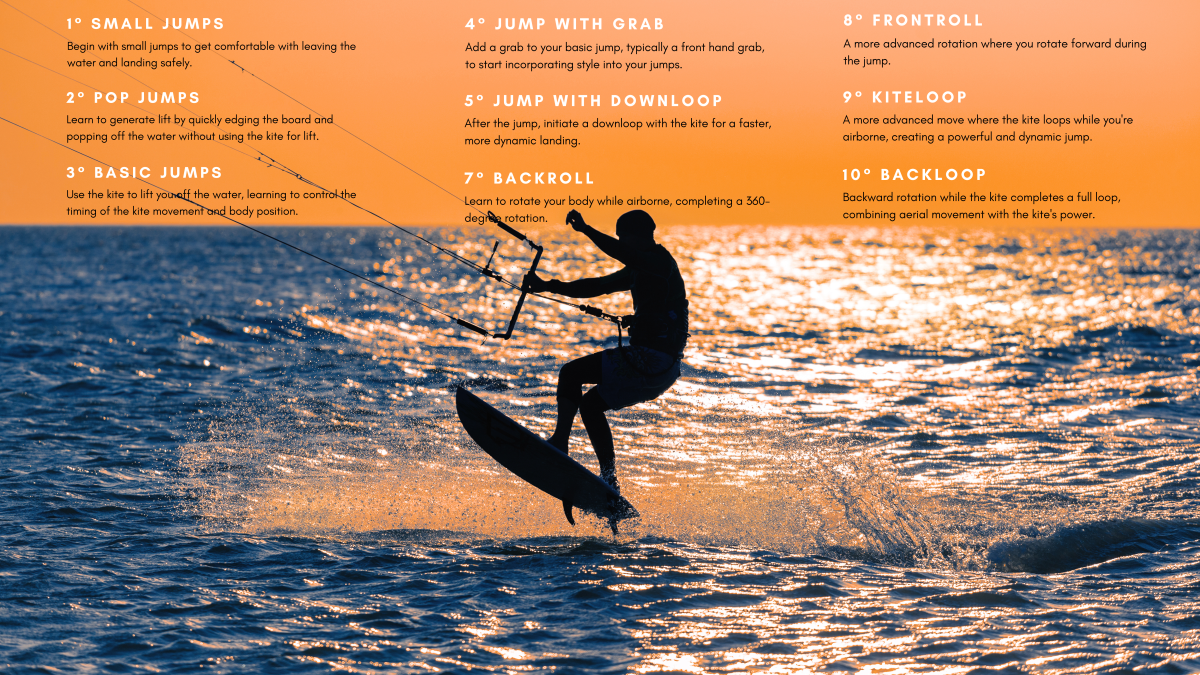
Don’t rush—mastering kitesurfing is a step-by-step process. Focus on one skill at a time and celebrate each small success. This approach ensures steady progress and keeps you motivated and confident.
The IKO Lesson Plan offers a structured guide for constant progress. Each phase builds a strong foundation, leading to continuous improvement. Your IKO certification and Vcard will proudly display your achievements once you’ve mastered the skills.
Find Your Crew: Boost Confidence with a Kitesurfing Community
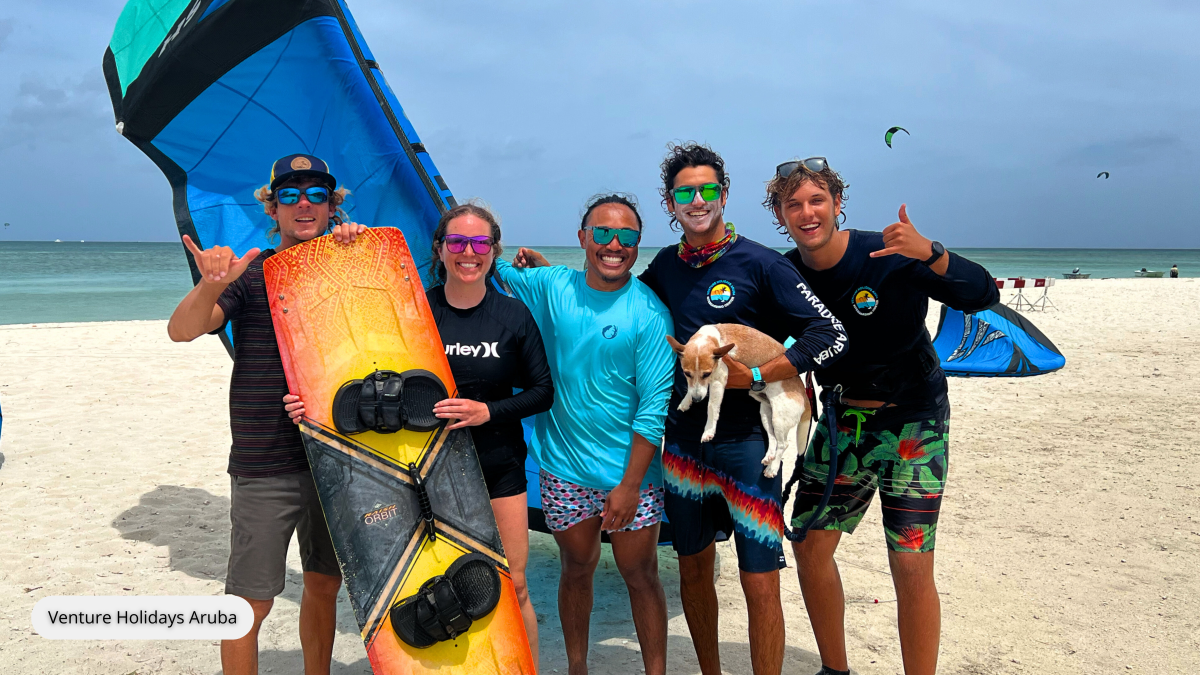
Joining a kitesurfing community boosts your confidence. Share stories, get tips from experienced kiters, and support each other through challenges. You'll also learn beach and water etiquette, ensuring respect and safety for everyone. Connect with the vibrant community through IKO’s Instagram and Facebook, and watch the inspiring videos on the IKOIntl YouTube channel.
Keep Your Head Up: Master Confidence with a Positive Mindset
Your mindset is your secret weapon. Embrace positivity, even when things don’t go as planned. Every mistake is a chance to learn and grow. Don’t let setbacks get you down—it’s all part of the journey. As you overcome challenges, your confidence will soar.
Useful Resources
Don’t miss the opportunity to deepen your kitesurfing journey further by reading the IKO blogs.
A must-read is Become a Better and Safer Kiter: Take the IKO Assistant Training Course and Instructor Training Course. Check out the helpful YouTube video that explains the self-rescue procedure, which is essential for every kiter’s safety.

Hey Kiter, Never Stop to Improve Yourself
Building confidence in kitesurfing takes time, practice, and patience. Start with the basics, practice regularly, understand the conditions, and respect your kitesurf level. Enjoy each session and consider the IKO Assistant Training Course (ATC) to enhance your skills. Every kitesurf session brings you closer to becoming a safer, more skilled kiter.
#wearahelmetlikeapro #besmartbesafe #safetyfirst #kitesurfingwithiko
Happy kiting!
Author: Marica Moda
Equipped for any kitesurfing adventure
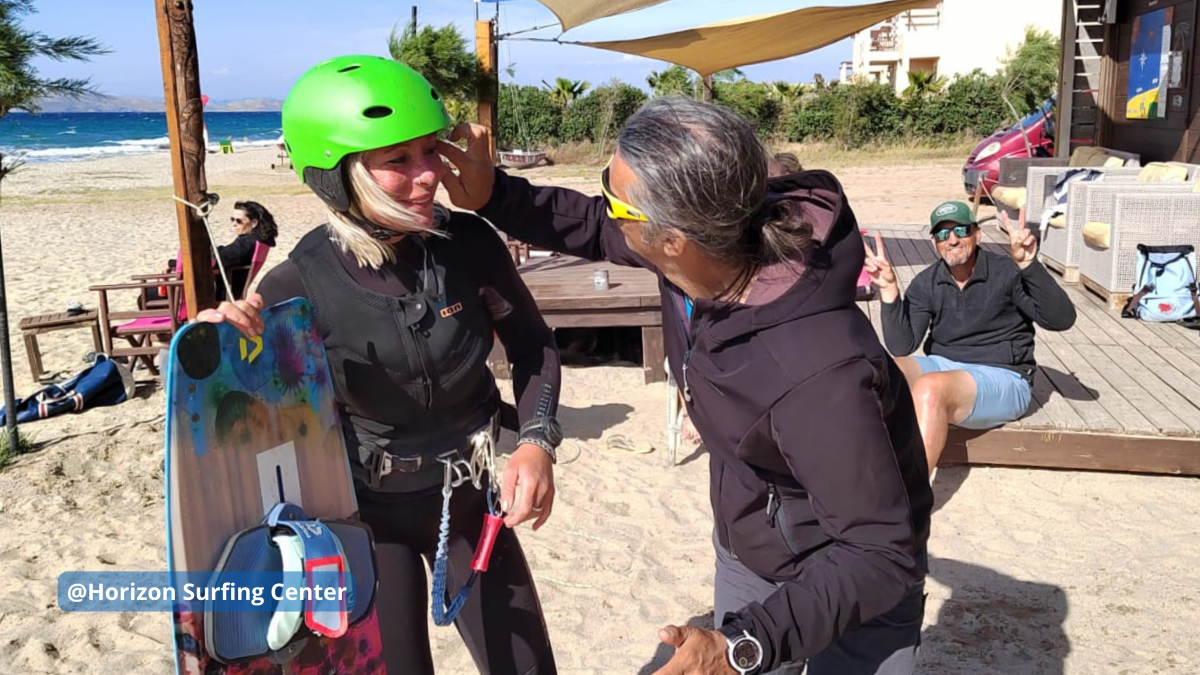
Kitesurfing is pure adrenaline, but like any sport, it carries risks. The proper safety equipment in full working order ensures safe and enjoyable kitesurf sessions; these are good suggestions that IKO wants to give you.
Helmet: Make a Difference by Wearing One.
Ever heard that "helmets are uncomfortable and only for beginners"? It's time to dispel that myth! Your helmet protects you from falls and collisions, whether the water is flat or wavy. Think of the helmet as a shield, like your cell phone cover. It protects you from the sun and defends you during unexpected falls or collisions with the water, your board, or other kiters or obstacles. Kitesurfing helmets are lightweight, comfortable, and designed to withstand hard impacts. They are equipped with drainage holes to prevent the chin strap from causing breathing difficulties underwater and help keep your head afloat if needed.
Helmets are cool and customizable! You can choose vibrant colors, add stickers, or design it to reflect your style. Remember, there's nothing more important than protecting your head. Wear your helmet proudly, just like the pro riders do. Be ready for any adventure.#wearahelmetlikeapro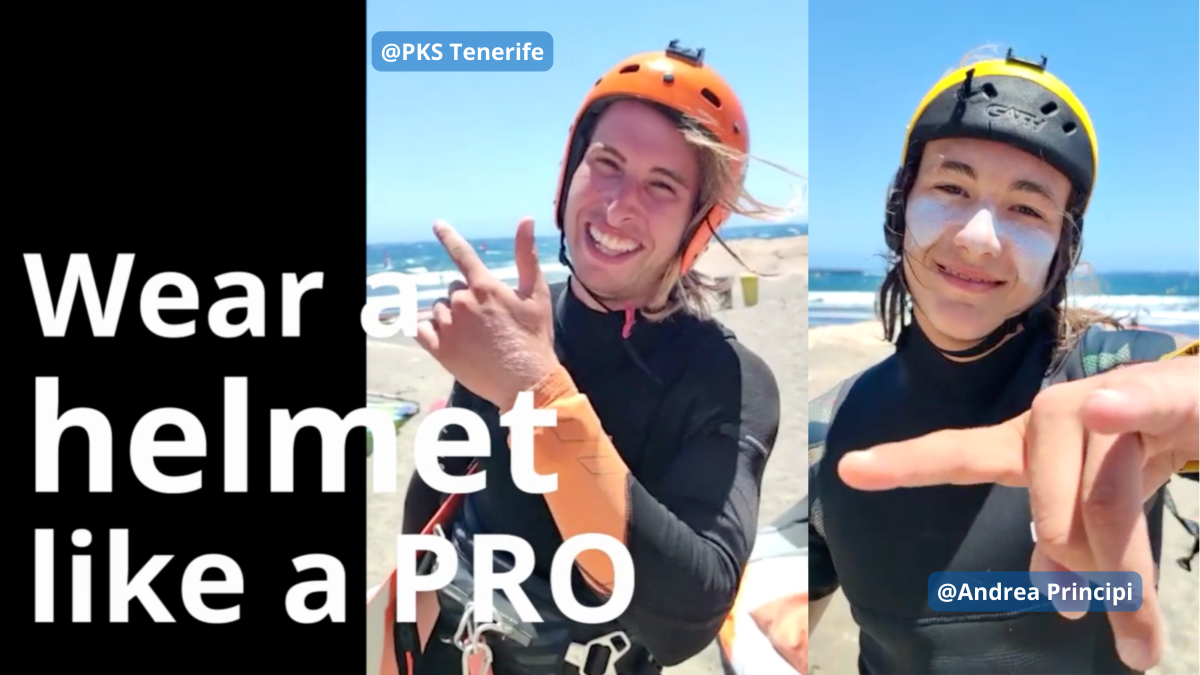
Check out the video on the IKO YouTube channel.
Buoyancy Aid (50 N): Your Protection of Safety
Wearing a buoyancy aid with 50 Newtons (N) during kitesurfing lessons is mandatory when learning with an IKO instructor. This is crucial for your safety. Even in shallow water, unexpected falls can occur. A buoyancy aid keeps your head and torso above water, allowing instructors and rescuers to assist you easily in need.
Impact Vest: Everyday Buoyancy Aid
An impact vest provides more agility but less buoyancy compared to a 50 N buoyancy aid. It is called an "impact" vest because it protects you from impacts during falls. While it offers some buoyancy, its primary function is to protect your torso from impacts during jumps, freestyle, or advanced maneuvers with a higher risk and probably hard falls, reducing injuries.
Make sure your vest is well-fitting and comfortable. It should allow you to breathe well without overtightening your rib cage and provide full mobility. This ensures you can perform all maneuvers without feeling restricted.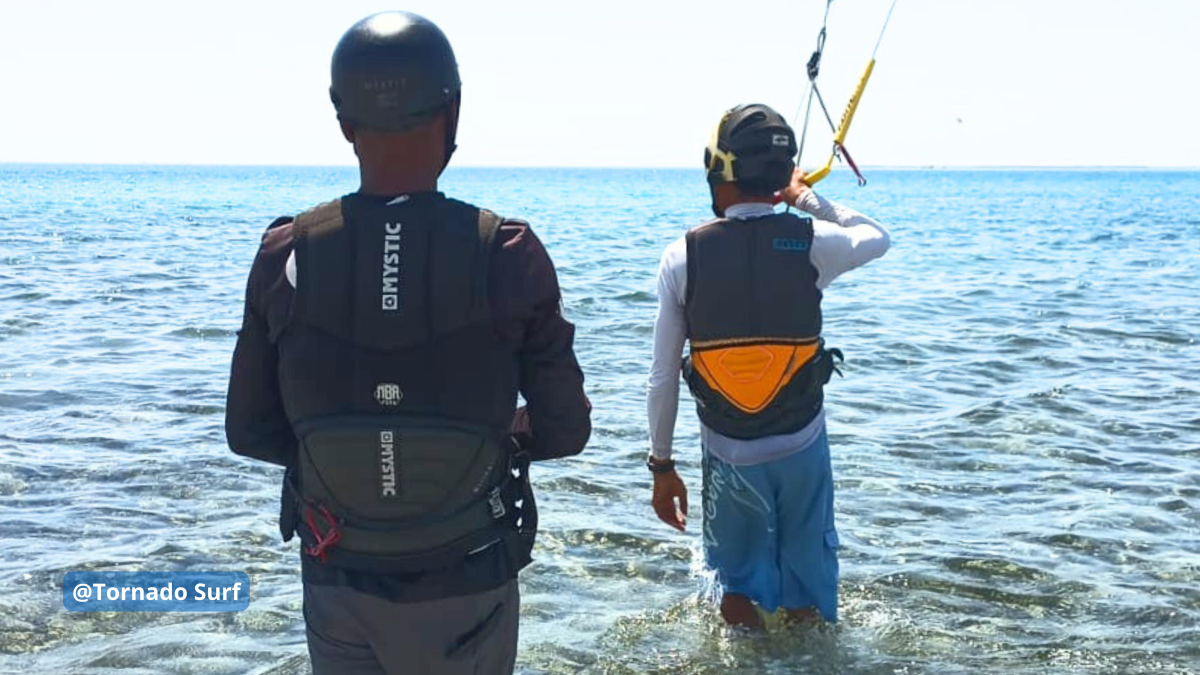
Kite Leash: Your Inseparable Companion
The kite leash is a crucial piece of safety equipment in kitesurfing. According to IKO standards, attaching the kite leash to the front of your harness is essential. This ensures you can easily reach it with both hands in an emergency. Fastening it behind or to one side of the harness can pull you backward or sideways, making it hard to reach the quick-release system.
Attaching it to the front ensures the quick-release system works properly and doesn't snag on your harness hook. Always test the kite leash before entering the water to ensure it is not blocked by salt or sand, including the quick release of the chicken loop. It's better to know it works before you enter the water than to find out in an emergency.
Kite Line Cutter: Your ace in the hole
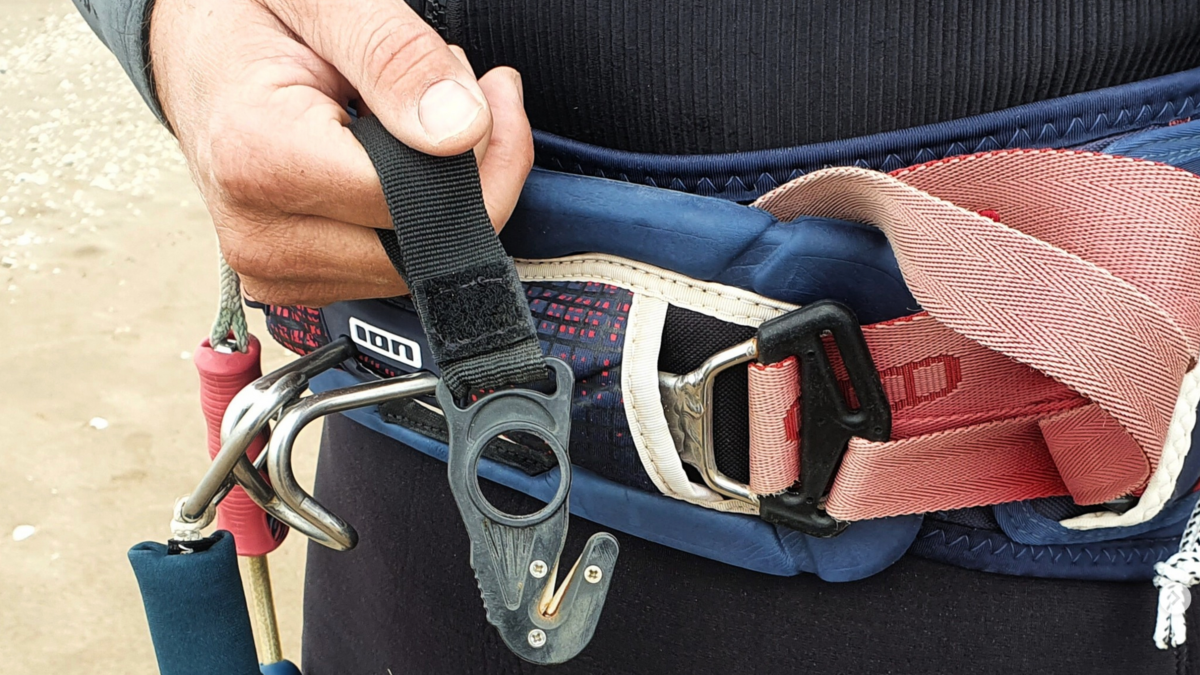
IKO recommends having a line cutter as part of your safety gear. Keeping it on your harness can turn a dangerous situation into a story to share with friends on the beach at sunset. It’s an investment in safety for you and other kiters in case someone gets tangled in the lines. Be aware that not all harnesses come with a line cutter included. Check your harness to see if it has one, and if it doesn't, make sure to get one separately. Regularly ensure the blade isn't rusted, just as you check your phone's battery before leaving the house.
To prevent the blade from rusting, cover it with candle wax. This will protect the blade from water, salt, and sand, but it will also ensure that if you need to use the line cutter, the wax will quickly come off, allowing the blade to work effectively.
#BeSmartBeSafe
Equipping yourself with the must-have safety gear is about following guidelines and embracing a preparedness mindset and respect for the sport. Your helmet, buoyancy aid, impact vest, kite leash, and line cutter are critical in safeguarding your kitesurfing adventures. They turn potential hazards into manageable risks so you can focus on the excitement of your kitesurfing session. Each item is designed not only to protect but also to enhance your overall kitesurfing experience.
Next time you go kitesurfing, wear your helmet with pride and your buoyancy aid or impact vest confidently, and check that every piece of your equipment is in top condition. You protect yourself and set an example for others in the kitesurfing community.
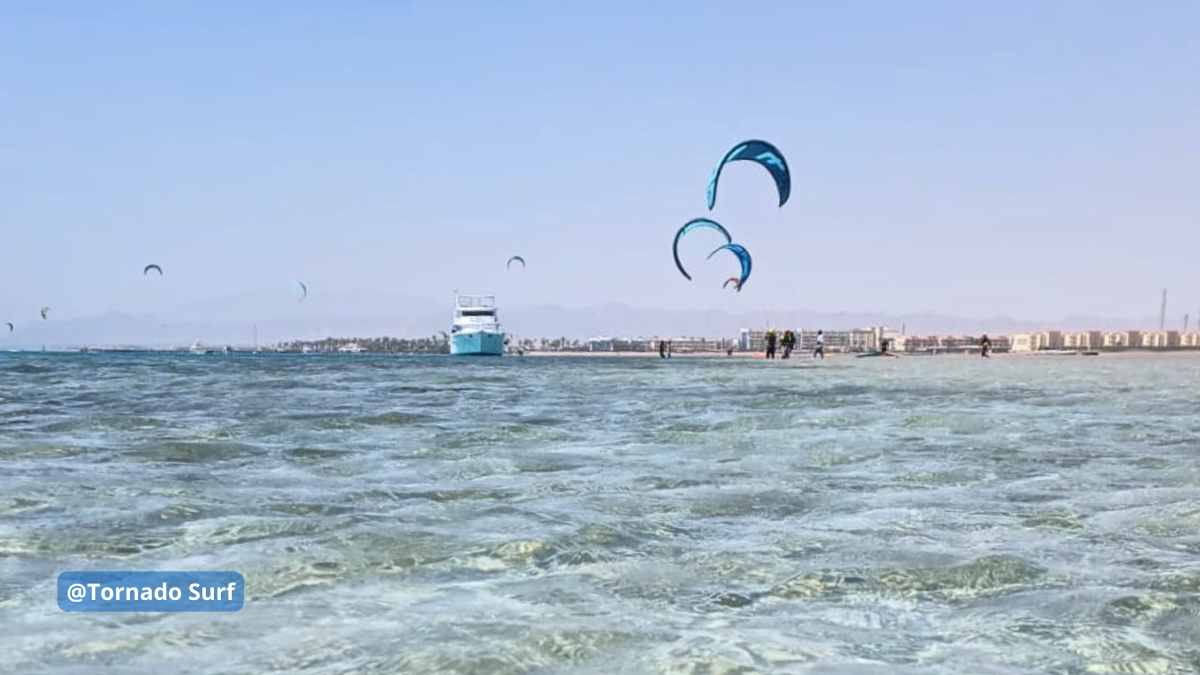
Stay safe, ride hard, and make every session an epic adventure.+
Happy kitesurfing!
#wearahelmetlikeapro #StaySafe #KiteSmart #SafetyFirst
For more tips and safety guidelines, visit the IKO YouTube channel: @IKOintl
Virginie Rochette: A Journey of Passion, Dedication, and Adventure in the World of Kitesurfing.

Exploring the World of Kitesurfing with Virginie.
In the dynamic world of water sports, kitesurfing stands out as an exciting sport that connects with nature and offers incredible adventures, attracting enthusiasts from every corner of the globe. Behind the beauty and adrenaline of this discipline often lies a unique personal story, a journey of discovery, teaching, and passion. Virginie, new IKO Examiner, is the perfect example; her story perfectly embodies the fusion of adventure, passion, and dedication. Through her eyes, smile, and stories, we tell you how beautiful and fascinating the world of kitesurfing can be. Let yourself be inspired!
“I have always been a passionate enthusiast of sports, but especially board sports!”
The Virginie's Journey into Kitesurfing.

Virginie took her first steps into the world of sports from a young age. Hailing from Grenoble, amidst the majestic French Alps, she cultivated her passion for board sports and nature from a tender age. Her love for snowboarding led her to tackle snowy peaks, while the allure of wind and water drew her towards windsurfing. It was during a day out on the lake, watching her snowboarding friends take up kitesurfing, that the desire to try this new sport ignited within her. Despite warnings from her male friends, who deemed kitesurfing too dangerous for a girl, Virginie embraced the challenge with determination and embarked on her journey into the world of kitesurfing.
“My male friends told me that I was a girl, so I shouldn't try because it was difficult and dangerous. However, their words only further fueled my motivation, and I promptly booked a package of kitesurfing lessons. Hahaha! Back then the equipment was quite different, and I began learning with a 2-line kite and a directional board with foot straps...despite being a beginner, I managed to cross the pond on the first attempt, but I didn't really know how to stop!
The Decision to Embrace Kitesurfing Professionally.

An encounter with a kitesurfing instructor during a trip to Egypt proved to be a pivotal moment for Virginie. Attracted by the idea of turning her passion into a career and with the desire to explore the world following the wind and doing what she loved, she made the life-changing decision to pursue certification as an IKO Instructor.
“I decided to take the IKO Instructor Course (ITC - Instructor Training Course) to see how it was, and then I took one year out of my job to put it into practice and start traveling.”
She traveled the world's coastlines, including those of the Dominican Republic, Venezuela, Brazil, and Cape Verde, immersing herself in diverse cultures, encountering new challenges, and accumulating invaluable experiences along the way.
From Passionate Kiter to IKO Examiner.

After years of teaching and dedicating herself to kitesurfing, Virginie achieved a new milestone by becoming an IKO Examiner. Her journey to this prestigious role was marked by challenges and sacrifices, but also by unwavering determination; for this reason, it was even more satisfying. From managing a kitesurfing school in Brazil to organizing IKO professional courses, Virginie has demonstrated extraordinary passion and commitment to promoting and developing kitesurfing.
“It hasn't been easy; it's been a long and difficult process, with hours and hours of study and training. But it was worth it, and now I’m looking forward to putting all this knowledge into practice on my own!”
Promoting Kitesurfing in Brazil and Beyond.

As an IKO Examiner, Virginie aims to promote and advance the sport of kitesurfing, focusing particularly on her efforts in Brazil, where she strives to foster its growth and development within the local community. In a country with many kitesurfing schools and instructors, her goal is to maintain high standards of education and safety, motivating potential kiters to obtain IKO certification. Leveraging her experience and dedication, Virginie aims to cultivate new kitesurfing enthusiasts and encourage female involvement in this captivating sport. Additionally, she aims to tackle the challenges faced by Brazilian kiters who encounter economic and logistical obstacles in their journey to become IKO Instructors.
"Sometimes it can be difficult for them to envision their future, plan their time, and investment, so I’m providing various payment and organization solutions."
Thrilling Moments and Adventures as an IKO Instructor.

Throughout her journey as an IKO Instructor, Virginie has experienced many memorable moments. 'I have a lot of stories!' she exclaims, with many students leaving a lasting memory. However, what truly brings her satisfaction in her work is witnessing her students progress in kitesurfing, especially when they start with no experience. After all, seeing their excitement as they conquer new skills and overcome challenges is the ultimate reward for her dedication and passion. This is one of the most beautiful things for an IKO Instructor, this is the #ikoinstructorlifestyle.
Unraveling Lagoinha: A Kitesurfer's Paradise in Ceara, Brazil.

For Virginie, Lagoinha in Ceara, Brazil, represents the perfect spot for kitesurfing. With its vast pristine beach and the tranquility of Jegue Lagoon, it provides a picturesque environment for kiters of all levels to enjoy exciting kitesurfing sessions and moments of peace in nature.
“My favorite spot is, of course, Lagoinha in Ceara, Brazil, where I live. It boasts a vast and uncrowded beach with stunning scenery, including the picturesque Jegue Lagoon. This lagoon offers buttery flat, shallow freshwater and enjoys a consistent wind for seven to eight months of the year. It's ideal for teaching and practicing unhooked freestyle, my favorite discipline. In the tranquil waters, there are usually few other kiters at the end of the day, with approximately ten hours of wind and sunshine daily. The natural landscape is breathtaking, especially during sunset when you may be fortunate enough to witness both the sun setting and the moon rising simultaneously—a truly unforgettable experience!”
Virginie's Perspective: The Thrills and Challenges of Becoming an IKO Instructor.
Virginie believes that becoming an IKO Instructor is an incredibly rewarding experience. For her, the job is not just a source of income but an opportunity to live her passion, meet different people, and create special bonds. She believes that teaching kitesurfing can truly change the lives of students and loves the idea of sharing her knowledge in paradisiacal locations around the world. Despite the difficulties and challenges inherent in being an IKO Instructor, Virginie firmly believes that this profession offers unparalleled opportunities for both personal and professional growth.
"Especially for women, kitesurfing doesn't necessarily require strength or weight; it's more about technique (and good lessons from the beginning). Of course, you have to be (or become) a sporty person, but it's more accessible than it seems, and women make excellent IKO Instructors. We generally have a natural compassion for our students, patience, and professionalism, which are essential for this job (often we have more of it than men). We must establish ourselves from the start by being pragmatic and professional, teaching both men and women.
The world of kitesurfing needs more female IKO kitesurfers, assistants, instructors, coaches, and Assistant Trainers, and I hope that my new status as an IKO Examiner inspires more women to follow in my footsteps!"
Exploring the Essence of Kitesurfing: Virginie's Journey.
Virginie's journey into the world of kitesurfing is a captivating exploration of passion, determination, and adventure. Through her story, we can grasp the essence of this fascinating sport and its ability to transform lives and inspire future generations. Whether teaching beginners or examining aspiring IKO Instructors, Virginie continues to embody the core values of IKO Instructor: passion, safety, and dedication to her craft.
Author: Marica Moda
How to make a theoretical kitesurfing lesson interesting.
You are a good instructor if you are good at teaching. It sounds like a silly concept, but therein lies the essence of our profession.
To teach means to present and provide information or instructions in a manner that suits the learning abilities of others, while also adding passion and creativity to the process.

Knowing "what to teach" doesn't mean knowing "how to teach" it.
If you are an IKO Instructor, you must understand that it's not sufficient to only know how to kitesurf; you must train yourself and be focused on teaching techniques to address "how to teach" the theoretical part, not just the practical aspect.
To be a good instructor, it’s necessary to explain both topics well. For a student, the theory of kitesurfing is an essential part of the learning process as it helps them understand the principles and techniques behind the sport.

We want to give you some tips on teaching a kitesurf theoretical class.
Here are some steps you can follow to teach theory to your students effectively, to keep the quality of your lessons high, and give you the tools you need to be a successful instructor of kitesurfing theory.
The better you are, the more KISS - Keep It Short, Simple, and Fun you will be!

Prepare a lesson plan you will follow, but use it only as a guideline.
Plan the lesson beforehand,but be ready to adapt and modify the plan during the lesson if necessary.
- Take notes on the topics you will cover.
- Don't write a script, just the key points that you will then go into more detail.
- Prepare all the necessary equipment.

What does a theoretical class need to include?
- Introduction: Describe what the objective of the lesson is and why it’s important.
- Feedback: Ask your students what they already know about the topic.
- Key points: Include 3 or 4 important points for students to remember at the end of the lesson. Use them in the introduction, during the lesson, and at the end to summarize.

Your communication skills are very important.
Creativity is the key to being a good instructor during a theory lesson.
- Speak loudly (but not too loudly) and clearly.
- Don't speak monotonously; instead, moderate your tone and change your voice according to your explanation.
- Maintain eye contact.
- Consider the cultural aspects of your students and respect them.
- Use different communication channels.
- Use various tools such as computers, smartphones, whiteboards, sandy beaches, 3D models, and simulators - large or small. Give your creativity free rein..

Interact with your students.
- Involve your students in the lesson to keep them engaged and focused.
- Avoid asking closed-ended feedback like, "Do you understand?" - "Yes/No." Let them explain what they understood in their own words and provide constructive feedback to help them improve their skills.
- Encourage your students to continue learning and exploring the sport even after the first lessons. Offer them resources such as instructional videos, apps, ebooks, and websites, where they can further enhance their understanding of kitesurfing theory.

Theoretical kitesurf topics.
During your kitesurfing lessons, you may need to explain some theoretical topics. You can develop these topics using a whiteboard, a computer, a smartphone, posters in the school, or even 3D models and simulators. Unleash your creativity and imagination to make the 3D models and simulators, and your class will be a success.

The topics you might need to cover during your kitesurfing lessons on a theoretical level are as follows:
- The five wind effects.
- Sea breeze diurnal and nocturnal.
- Tides.
- Basic principles of aerodynamics.
- Sea marine currents.
- Meteorology, High and Low Pressure.
The five wind effects:
1) The Venturi effect.
2) The wind shadow.
3) The wind gradient.
4) The Bay effect.
5) The compression effect
TIP
Focus on the dangers and possible benefits of the five wind effects, like the impact of the space for riding, launching, and landing the kite safely, wave conditions, upwind and downwind riding, and the consistency and quality of the wind.
Draw the five wind effects. For example, if you have a whiteboard available, you can use it, but drawing in sand is also perfect. You can also use common objects in the school to illustrate the effects.

Sea breeze diurnal and nocturnal.
Explain how sea breezes are generated, when they occur, and the potential dangers they may present.
TIP
Focus on the impact of a sea breeze on a kitesurfing session, such as the change in wind strength, the eventual change in wind direction, and its duration.

Tides.
Explain the potential dangers and benefits the tides can have and how they can completely change the spot.
TIP
Even if they don't have much impact in your spot, always consider that your students may visit places where having high or low tides can really make the difference between kitesurfing or not kitesurfing (an example is Sotavento Lagoon in Fuerteventura - Canary Islands).
Focus on how to maximize the kitesurfing experience and ensure safety. Explain to your students how to check tide charts or consult local knowledge to understand the tide patterns and their impact on the specific location where they plan to kitesurf. Being aware of the tide conditions will help them to make informed decisions and adjust the session accordingly.


Basic principles of aerodynamics.
This topic is very technical and broad, so it’s fine to treat it in a simplified way, focusing on why kites fly and pull.
TIP
To help you with the explanation, download an app that simulates the wind tunnel.
This tool will allow you to make a complex concept visual and simple, making clear the forces generated once the kite is in the air.


Sea currents.
Explain how to recognize sea currents and their potential impact on a kitesurfing session.
Draw your students' attention, particularly to rip currents, teaching them how to identify these currents and how to respond appropriately..
TIP
Download and print IKO's free posters on sea currents; they are free and make it clear how to act correctly.
Emphasize the importance of having a good understanding of the local conditions, including tides and current charts, as well as local knowledge from experienced kiters. Explain how to assess the current conditions before entering the water, adjust the riding technique to compensate for the currents influence, and prioritize safety by choosing appropriate locations and being prepared.


Meteorology, High and Low pressure.
Meteorology is a very complex and extremely broad subject. It would take many hours of class time to cover the topic, so we recommend that you approach it by focusing on the basic concepts of meteorology.
TIP
Focus on High and Low pressure and why they are essential for kitesurfing. Use the thumbs technique to memorize high and low pressure in the two hemispheres.
Also, focus on the impact of high-pressure and low-pressure systems based on regional and local factors. Advise your students to check the weather forecast, consult experienced local kiters, and assess the conditions on-site to decide if it is suitable and safe to kitesurf during specific high or low-pressure systems.

Practical kitesurf topics.
When teaching practical topics, remember to always follow the 8 IKO’s Steps Teaching Concept.
The IKO’s 8 Steps Teaching Concept.
The IKO teaching concept is based on achieving physical skills through a combination of your student's trial and error, along with your evaluation and correction.
Additionally, it involves developing your student's background knowledge and skill consolidation, ensuring they understand why they are performing an exercise.
The 8 steps are:
- Evaluation: Who?
- Set a goal: What?
- Incentivize and motivate: Why?
- Give reference points: How? When? Where? Which exercises?
- Get student’s feedback (1): Did the student visualize well?
- Observe: Student’s trial and error.
- Get students’ feedback (2): 90% of the learning process.
- Correct: Only when necessary!
Riding upwind.
Explain the prerequisites and, if necessary, discuss possible reasons for failure.
TIP
Focus your explanation on what combination of the kite, body, and legs/board your student should maintain.
Videos on the IKO App, a 3D model, or a small simulator can help your student gain an outside perspective and better understand what to do once on the water.

First jumps.
Explain the necessary prerequisites and discuss potential reasons for failure.
TIP
Focus your explanation on what combination of the kite, body, and legs/board your student should maintain; also, encourage them to practice with a physical simulator.
Using a physical simulator can help reduce the stress of trying something new before attempting it in the water, and it aids in building muscle memory.

Remember to adapt your teaching approach to your student's learning style and pace. Create a positive rapport with your student. Be funny, dynamic, patient, and supportive, and promote a safe and enjoyable learning environment.
Do you really know how your kitesurf bar’s safety system works?
Author: Marica Moda
Kitesurf bars and safety systems, let's clarify.
Kiters at the beach often argue about which brand makes the best bar, what materials are used, and which safety systems work better than others.
But do you really know how your bar's safety system works? Did you simply rely on the shopkeeper, the owner of the kitesurf school that sold it to you, or the friend who recommended it?
How many kitesurf bar safety systems do you know?
Kite companies are always trying to innovate in equipment performance and safety. If you compare the performance and safety of kitesurf from its origins to today, we have made great progress.

We have moved from essential two-line bars with no depower capabilities and no quick releases to bars with depower systems, simple adjustments, and quick releases that can be used with one hand.
One of the most important features in the design of a kitesurf bar is the operation of the safety system.
Bar security systems: safe and unsafe.
First, it's necessary to clarify that no safety system can completely depower a kite, especially in high winds.
Some safety systems come very close to 100% depowering; that is why IKO recognizes and approves safety systems if they can release most of the kite's power in any wind condition (from very light to strong).
This occurs in bars with front re-ride or 5th-line safety systems and doesn’t occur with other safety systems on the market.
Approved by IKO: front re-ride security system.
It's one of the 4-line bar safety systems, most commonly used on LEI (Leading Edge Inflatable) kites, thus with the inflatable leading edge.
The safety line is one of the two front lines, and in order for the system to work, the bar must be able to slide along this line in the direction of the kite for a distance equal to at least one wingspan of the kite (in the graphic: d1 ≥ d2).
Once the chicken loop's quick release with the front re-ride system is activated, the bar will slide toward the kite on the front safety line, and the kite will instantly and safely lose most of its power.
Be careful not to have the front lines too tightly rolled together (related to jumps with rotation and kite loop), because this could still cause the security system to malfunction (in this case, use the swivel to keep them separated at all times).
The front re-ride system is the safest, which is why it’s IKO-approved, and fortunately, today, it's the most widely used by major kitesurf equipment manufacturers.
For the front re-ride system to function correctly and be approved by IKO:

d1 must be equal to or bigger than (≥) d2 (wingspan of the kite).
Approved by IKO: 5th line security system.
The safety line is a 5th line, connected to the center of the leading edge on LEI kites and the center of the trailing edge on foil kites.
For the safety system to work correctly, the bar must slide along the 5th line in the kite's direction for a distance equal to at least one kite string (in the graph: d1 ≥ d2).
It facilitates the relaunch from the water of a C-Kite, and some brands use it to ensure more excellent structural stability of the kite.
IKO approves it; however, the depowering is less than the front re-ride system, and the risk is that the 5th line wraps around the kite since it’s attached to the kite tow point (where the pump leash connects).
Activating the quick release of the chicken loop allows the kite to lose most of its power; still, you must be careful because, as mentioned before, the 5th line could wrap around the kite and damage it.
For the 5th line security system to function correctly and be approved by IKO:d1 must be equal to or bigger than (≥) d2 (kite chord).

NOT approved by IKO: OSR (Oh S**t Ring) safety system, asymmetric and mini 5th line.
Fortunately, few brands use these security systems, and IKO recommends that you never use them in any circumstances. If your bar has one of these security systems, we recommend that you change it to protect your safety and the safety of others.

The asymmetric safety system and the mini 5th line don’t totally depower the kite because once you activate the chicken loop’s quick release, they keep both front lines in tension, not allowing the kite to lose most of its power, risking also kite loops.
In the OSR system (fortunately, few are seen on beaches), the safety line is one of two directional lines (back lines). Even in this case, the system doesn’t allow total depowering of the kite, risking uncontrolled kite loops.
So, what is the best safety system for a kitesurf bar?
The best safety system is the FRONT RE-RIDE, and it’s 100% IKO-approved.
On bars with the front re-ride safety system, you can find the stopper ball; it will be on the safety line.
Not all brands use it, but it can be very useful and is recommended for:
- self-landing;
- bar recovery in the water to relaunch the kite;
- self-rescue.
Without it, upon activation of the chicken loop’s quick release, the bar will be free to slide up to the kite, and you will have to spend more time arranging the often tangled lines.
If you use a single bar with the stopper ball for different-sized kites, we recommend adjusting the stopper ball position before entering the water.
The stopper ball must allow the bar to slide a distance ≥ the wingspan of the kite you plan to use or make your life easier by fixing it according to the wingspan of your biggest kite.
Where to place the stopper ball on the safety line correctly?
To determine the correct stopper ball position, simply lay the safety front line next to the leading edge of your kite.
The stopper ball on the front safety line should be placed at least:
- 1 kite wingspan from trim, on bars with the front re-ride system (in LEI and 4-line kites);
- 1 kite rope from the trim, in kites with the 5th line.

What is the other stopper ball you have on the bar between the chicken loop and the trim?
Some bars may also have a stopper ball along the center line (between the chicken loop and the trim), which is used for some old-school freestyle tricks. It can be fixed or slid and limits the upward movement of the bar.
Be careful: this stopper ball may slide down without you noticing, not allowing you to depower the kite; check it periodically.
IKO doesn't recommend that beginners use this stopper ball because, without it, the kite can be easily and completely depowered by simply letting go of the bar.
How often do you test your kitesurf bar safety systems?
Remember that a broken or malfunctioning security system is dangerous, so it is essential to check its proper functioning; otherwise, when you need it, it will not work as it should.
Try the safety systems every time you go kitesurf, it will only take a second, but once you are on the water, you will be sure you have all the safety systems you might need.
Pre-flight check before connecting to the bar:
- Activate the quick release of the leash and close it again
- Connect the kite leash to the front safety line
- Activate the quick release of the chicken loop and close it again
- Aook the chicken loop to the harness and lock it with the chicken finger
- Grab and bring up the floaters on your bar to make sure the lines are in order
In addition, we recommend that you periodically rinse your bar, kite leash, and line cutter with fresh water so that any grains of sand or salt encrustations dissolve, keeping your safety systems 100% efficient.

Do you know what your kitesurf bar is made of?
The kitesurf bar is composed of several elements, all made of materials that are generally very strong and suitable for high stresses.
The bridles and pigtails.
They are made of high-modulus polyethylene fiber with a unidirectional core and braided sleeve. The patent is from Spectra and Dyneema, from which the respective names are derived. This material has high abrasion resistance due to its low coefficient of friction and self-lubricating characteristics. Pulleys can be plastic or metal.

The lines.
They are made of thermoplastic material cast and drawn into fibers. The high-density polyethylene is Dyneema or Spectra, braided at optimized angles to minimize the risk of stretching lines. Heat treatment and brushing optimize the material's inherent properties, while an additional coating protects the lines from UV rays and water absorption, making them buoyant.
The diameter of the lines varies between 1.5 and 2.5 mm, and the breaking strength varies between 180 kg and 300 kg (depending on the quality, diameter, and final seam).
When the kite is in the air, never touch the lines for any reason, even during launch or landing.

The bar.
The bar is in aluminum with a non-slip coating.
You must consider the ratio of the size of your bar to the size of your kite. A large kite has a larger radius of curvature than a small kite. For this reason, the length of the bar, which acts as a lever, should be proportional to the kite's size:
- use a short bar (45 cm or less) with kites smaller than 8 m²;
- use a medium bar (45 to 55 cm) with kites measuring between 8 m² and 12 m²;
- use a long bar (55 cm or more) with kites measuring more than 12 m².
Thanks to a system at the end, many bars can be adjustable and be lengthened or shortened depending on the kite you use and the responsiveness you prefer.
Generally, it's not possible to interchange 2, 4, and 5-line bars and use one bar on different types of kites.
The chicken finger.
It's a rigid rubber tube that ensures the chicken loop stays connected to the hook of your harness.
The chicken loop.
It's a rigid rubber ring that connects the bar to your harness. It's also connected to your kite's front lines. Its connection to the harness allows you to ride without supporting the kite's full traction with your arms.
The chicken loop’s quick release.
The chicken loop’s quick release system allows you to quickly release yourself from the kite's pull in an emergency.

In this regard, some brands have devised a quick and effective release and reattachment system: after operating the safety system and then opening the chicken loop of the bar, to reattach it, simply push the end of the chicken loop into the appropriate slot. No need to touch the release system; the chicken loop also closes with one hand.
The stopper ball.
It's a hard rubber or marine aluminum ball that stops your bar when, for safety reasons, you activate the chicken loop’s quick release, and it slides on the front safety line toward the kite.
The stopper ball position is dynamically settable. It must be calculated to allow the kite to foil and hold itself in an inverted position, minimizing aerodynamic drag.
The swivel.
It's a rotatable component of your bar that keeps the lines from rolling up in the event of a trick, allowing through its rotation to put the front lines back in order, leaving the bar free to slide on the front safety line.

The floaters.
They are made of floating foam and are located on the sides of the bar and make it float.

Simple golden rules.
Follow these simple IKO Standards for your safety on the water and the safety of others:
- Use a bar with a chicken loop with quick release;
- Use a bar with an IKO-approved safety system: front re-ride or 5th line;
- Use a kite leash with the quick release connected to the front of your harness;
- Always keep a line cutter in your harness (in case you need to get rid of lines it could become your first safety system).
These are a few simple rules to follow for safe fun.
Remember that all safety systems should be tested by turning them on and off before each use, so you can be sure they will work when you really need them, and always use a bar that allows your kite to lose all its power.
Have fun and enjoy the wind.
Kiting is constantly growing and evolving. New disciplines emerge, equipment improves, spots get discovered and teaching techniques are enhanced.
We recently updated the IKO Kitesurf Instructor Manual to include the latest knowledge and experience from our elite trainers worldwide.
IKO Kitesurf Instructor Manual 7.0 Now Available
Concise Lesson Plans
Speed up the learning process and make lessons more enjoyable
Emphasis on ‘Guided Discovery’
Students progress quickly with hands-on learning
Focus on Students’ Mental States
Ensure students feel good and have fun while learning
Improved Readability
New graphics and easier to understand concepts
If you’re an IKO certified instructor with active membership, get a copy of the new manual by logging in to your account.
Improve your riding, adjust your lines
Why is it that in 99% of the cases we always use the same line length? A majority of the bars that come out of the factory are equipped with lines between 20m and 24m. This article will show you in which scenarios you could use shorter or longer lines. You will discover ways to improve your riding and adapt your equipment depending on your weight, your level and the discipline you choose. We will also touch on why it is mandatory for IKO instructors to use short lines during lessons and why it is highly beneficial for the student.
Impact of the wind window on your kite
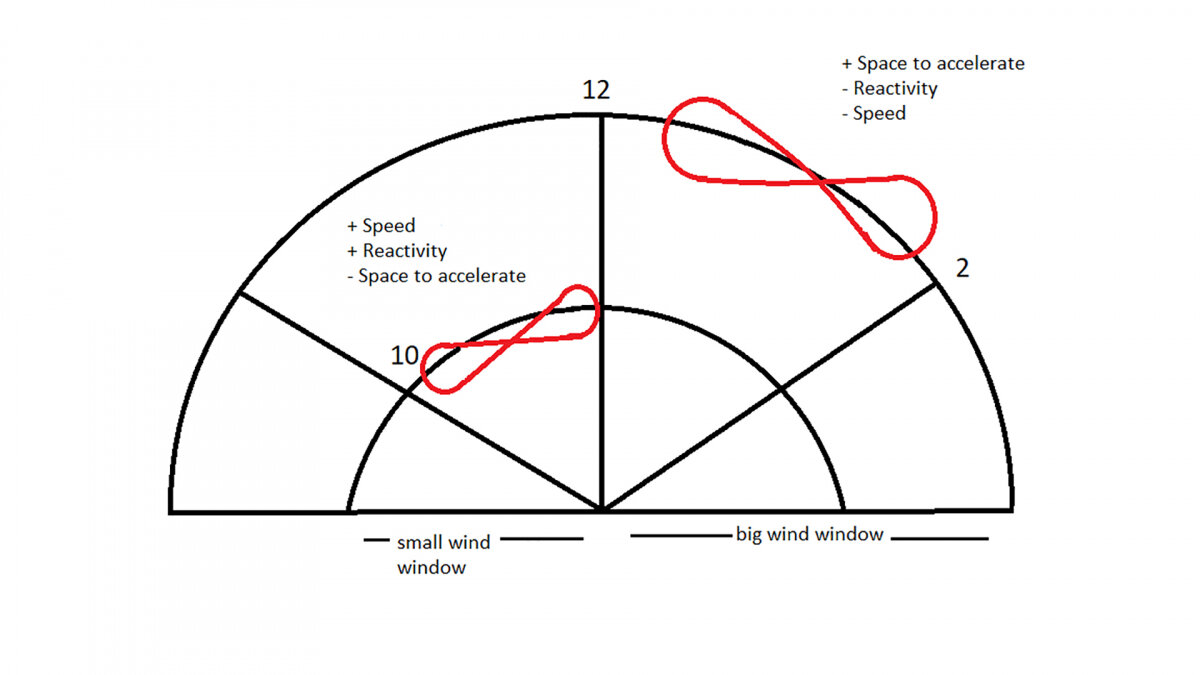
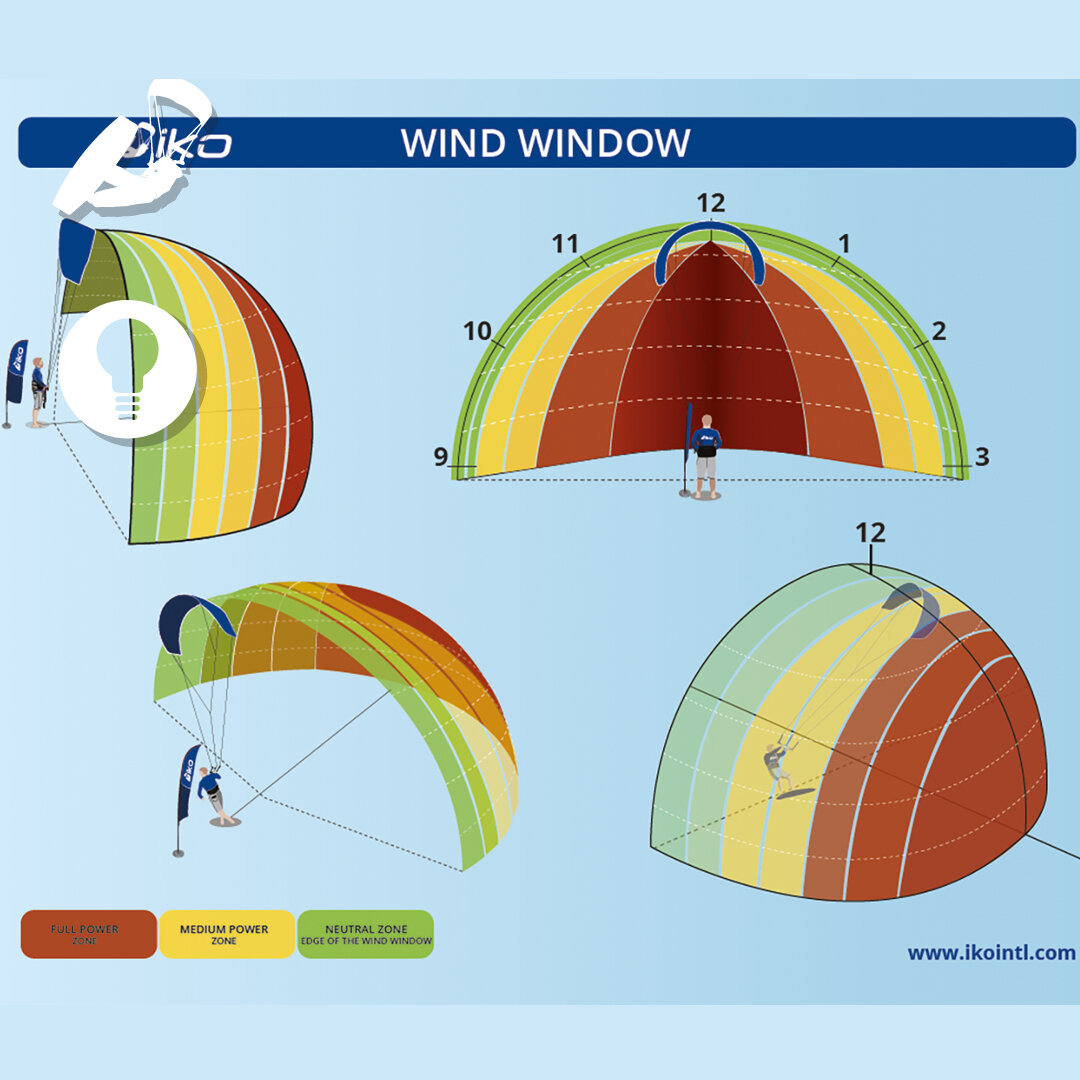
The wind window is the area where the kite can fly. It is also where we use the kite clock as a reference for teaching. In the neutral zone, the kite generates minimal power, because it only receives the true wind. In the power zone, the kite will be able to accelerate as fast as it can and create an “induced wind” which when associated with the “true wind” will be called “apparent wind”. This is where the kite can generate maximum power. By using shorter lines, we can move the kite faster up and down the wind window, this increases the power of the induced wind and increases the power of the overall apparent wind even further.
By changing the length of your lines you are actually changing the size of your wind window. The bigger your wind window is, the more power you will generate because the distance from a point A to a point B is bigger which gives your kite more space to accelerate.
Wind gradient
This is a wind effect that explains how the wind changes, the higher up we go. It has been discovered that the wind is 35% stronger at 20m than right above the water level. In other words, the longer your lines, the higher your kite is, and the stronger the wind that is captured by the kite resulting in more power.
.
So why aren’t we using 70m lines?
The additional power captured when using long lines comes at a cost. Longer lines will create more drag which will reduce the reactivity of your kite and will make your kite sit deeper inside the wind window. The longest lines we use are around 30m, longer lines than that would create too much drag to be effective, the kite would become too hard to steer and loose its upwind abilities.
What about line lengths for lessons?
Trainer kites
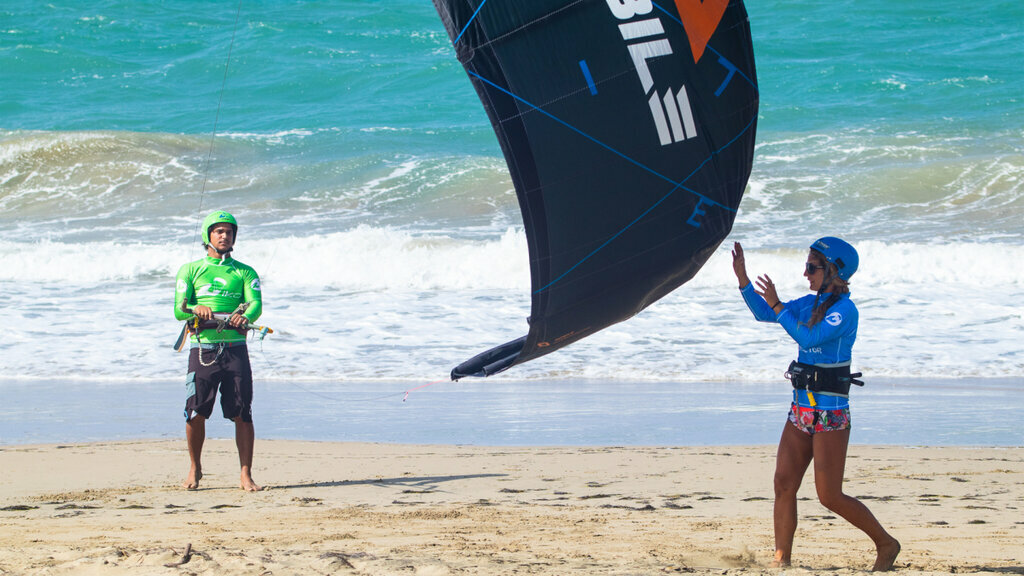
A trainer kite is a kite that does not generate enough power to make you lose balance, in certain situations a 2 line foil kite is used but in most of the cases, a small LEI kite with short lines ( 2 to 18 meters ) will be a better option. This is very useful for many reasons:
-
reducing the space needed for a lesson,
-
reducing the stress for the student,
-
having less impact on other beach users,
-
reducing the kite’s power,
-
softer crash for the kite,
-
much safer in strong/gusty conditions etc…
Increase your line length as you progress
At IKO we strongly believe that changing the length of your lines throughout your progression is a key factor in your learning process.
Once the student starts gaining confidence and is able to handle more power, we gradually increase the length of the lines. This method allows us to precisely adjust the power delivered by the kite to the student while keeping the rhythm of the lesson fluid.
Adjust your line length to your riding style
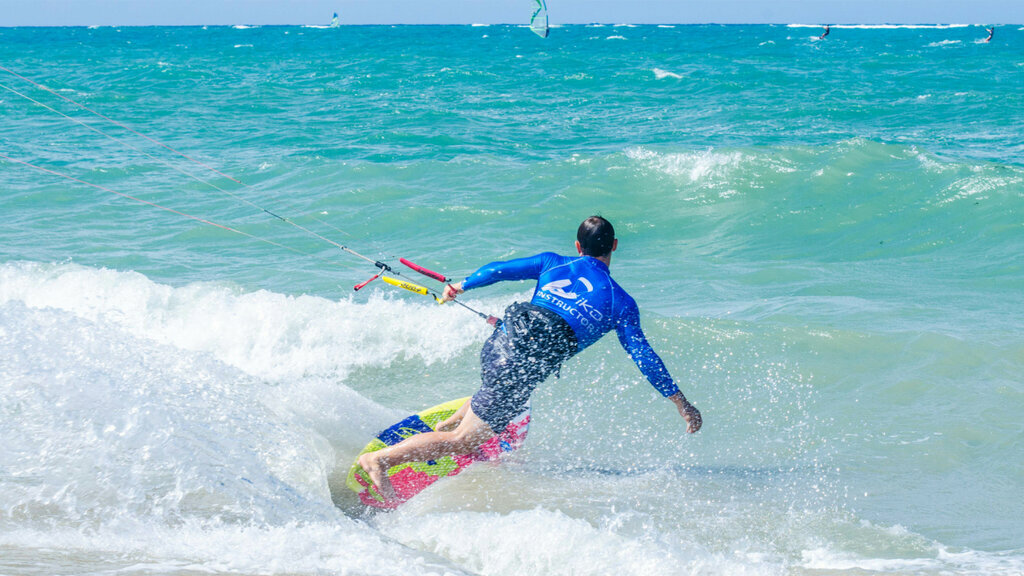
Using short lines (20m or less ) gives you an advantage if you’re looking to have a quick and reactive kite for your style.this length of lines can be very effective for the following riding styles:
-Big air when learning kite loops: Learning how to kiteloop can be an intimidating step because of the power the kite generates during this move, shortening your lines is a great way to make your learning process faster and safer, even pro riders like to use lines as short as 10m in certain situations.
- Wave riding: whether you are using a directional board, a hydrofoil, or even a twin tip. If your goal is to shred some waves then shortening your lines is a very good idea, the added reactivity will allow you to turn quicker improve and maneuverability on the waves.
Long lines ( 24m or more ) will be particularly useful in situations where you will need more power and a stable kite :
- Freeride: In other words, riding while performing tricks and jumps that don’t require you to unhook. Freeriding is a hard subject to approach as it covers a very wide aspect of our sport but in a majority of the cases, it does not require fast steering of the kite, on the contrary, slightly longer lines will “slow down” your kite allowing you to focus more on your body position. I would recommend a length between 22m and 24m for this discipline depending on your wind conditions, skills, and the tricks you are trying to perform.
- Old school: Old school is a discipline that consists of jumping high and doing grabs or taking one or more feet out of the foot straps on your board To perform these tricks well you will need to have a powerful setup to lift you high and give hangtime as well as a slow setup that will allow you to focus on your board without having to worry about your kite moving everywhere.

How can I change the length of my lines?
Some bars come with sets of extensions
A few brands will give you the option to buy a set of lines that come with extensions, allowing you to adjust the length of your lines every session, those extensions are usually between 2m and 5m.
Folding
It is possible to fold your lines in two in order to use only half the length, to do so simply grab connection knot/loop at the end of your lines and bring them back to the bar, you will then connect the back lines to the knot of the leader lines and the front lines to a pigtail attached to the point where the center lines split, you will then attach a set of pigtails at the end of your lines. Make your quick release still work after folding your lines! You can double back your lines several times and use ½, ¼, or ⅛ of your line length with this method.
Splicing your lines yourself
A very good way to be prepared for every situation and have several line lengths on one bar is simply to cut your lines and create line extensions that you simply have to add or remove depending on the discipline you will be riding. To do so, you can either ask your local kite doctor or do it yourself by splicing your lines.
Click Here to watch a video made by one of our examiners that will guide you throughout that process.
Conclusion
As you can see, the length of the lines play an important role in kiteboarding. If you're not sure about which length to use, contact your nearest IKO Center or learn more about the subject during one of our pro courses!
What about you? what length of lines do you use?
Author: Charly Roche
The wind window is the area where the kite can fly. On its edge, the kite generates its minimal power, because it only receives the true wind. It is also where we use the kite clock as a reference for teaching. Positions 9 and 3 o'clock are also called launching and landing positions. 12 o’clock can be called the Zenith too. On the center of the wind window, the kite will be able to accelerate and create an “induced wind” which associated with the “true wind” will be called “apparent wind”. This is where the kite can generate its maximum power.
This infographic and others are available for free in the gallery section of the IKO App! Download the app today to access these resources (App Store or Google Play Store).
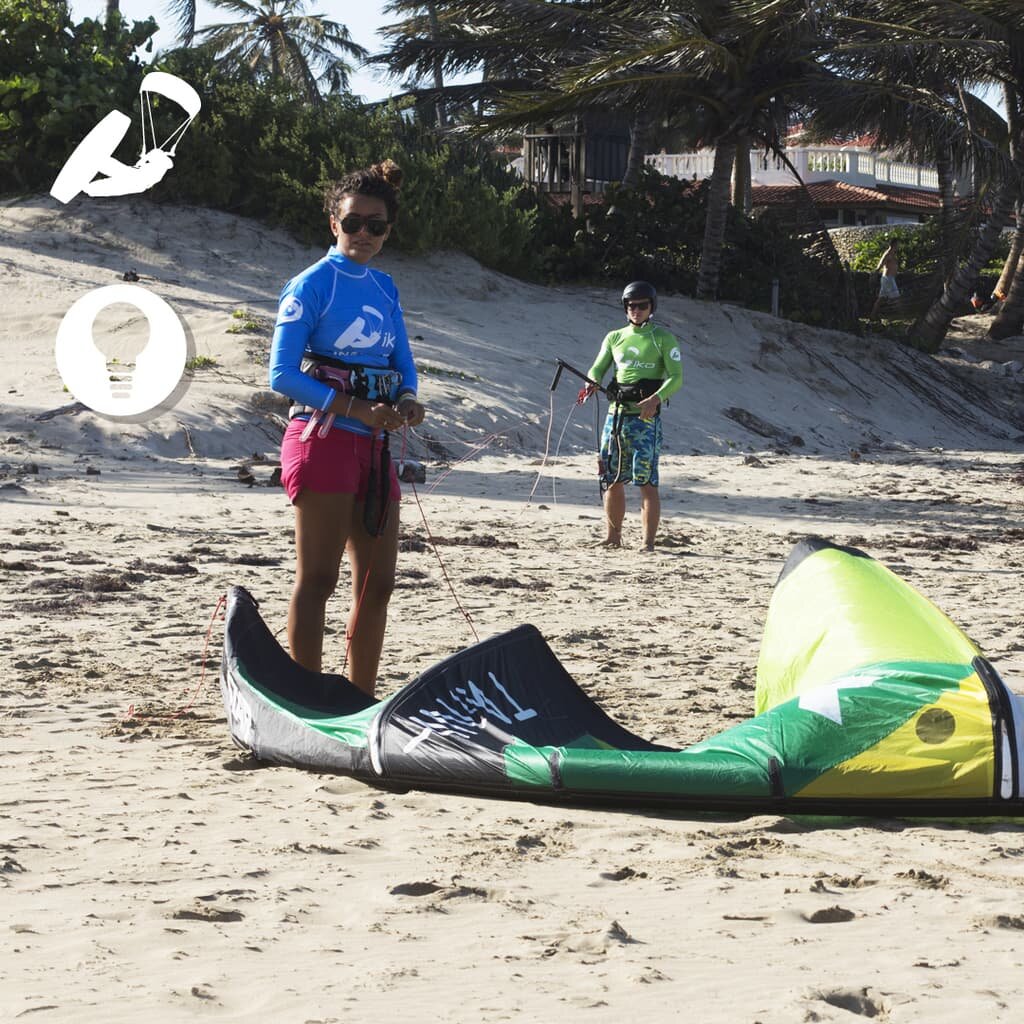
An age-old debate in the kiteboarding community is whether a kiteboarder should set their lines upwind or downwind of the kite? What is the difference and does it really even matter? The answer and truth is that both set up methods can be done, however the IKO strongly recommends teaching the downwind setup as it is safer in many aspects.
Let us examine the advantages and disadvantages of both set ups-
Downwind set-up
To set up your lines downwind of your kite we recommend you loosen up some line and put some sand over the lines extremity so they do not move with the wind. Unwind the lines starting from the kite walking downwind. When walking your lines make sure to match the bar ends with the kite lines colors (red on red for example).
*It is important to note that the bar is not “upside down” as many people who do not like this method claim. It is just a point of view because we are on the kite's back. As Examiner Vincent explains when he is teaching: “When you are side to side with someone, watching the same direction, you will see their left hand as your left. If you were face to face with them, you will see their left hand to your right, but that does not mean that their left hand is now on the right, it is just your position that changed".
Advantages:
- Easy to do the preflight check.
- There will not be power in the kite until you walk to the launching position.
- It is much safer because of the two advantages above.
Disadvantage:
- When it is very windy the lines are pushed away while you unwind them. It can be easily solved by putting sand on the lines ends and/or placing them underneath the kite.
Upwind set-up
To set up your lines upwind of your kite, unwind the lines starting from the kite and walking upwind. Make sure to match the bar ends with the kite lines colors (red on red for example).
Disadvantages:
- Not as easy to pre-flight check.
- The kite is directly in the power zone if tension is put on the lines (dangerous).
- During launching, the back line could wrap around the kite.
- The assistant has to walk between the kite and its pilot to lift it, it is more challenging to do it right especially for non-kiteboarders.
When examining the advantages vs disadvantages of both set ups, it is clear despite a bit of an inconvenience when the wind is strong that setting up your lines downwind of your kite is optimum for many logical and safety reasons.
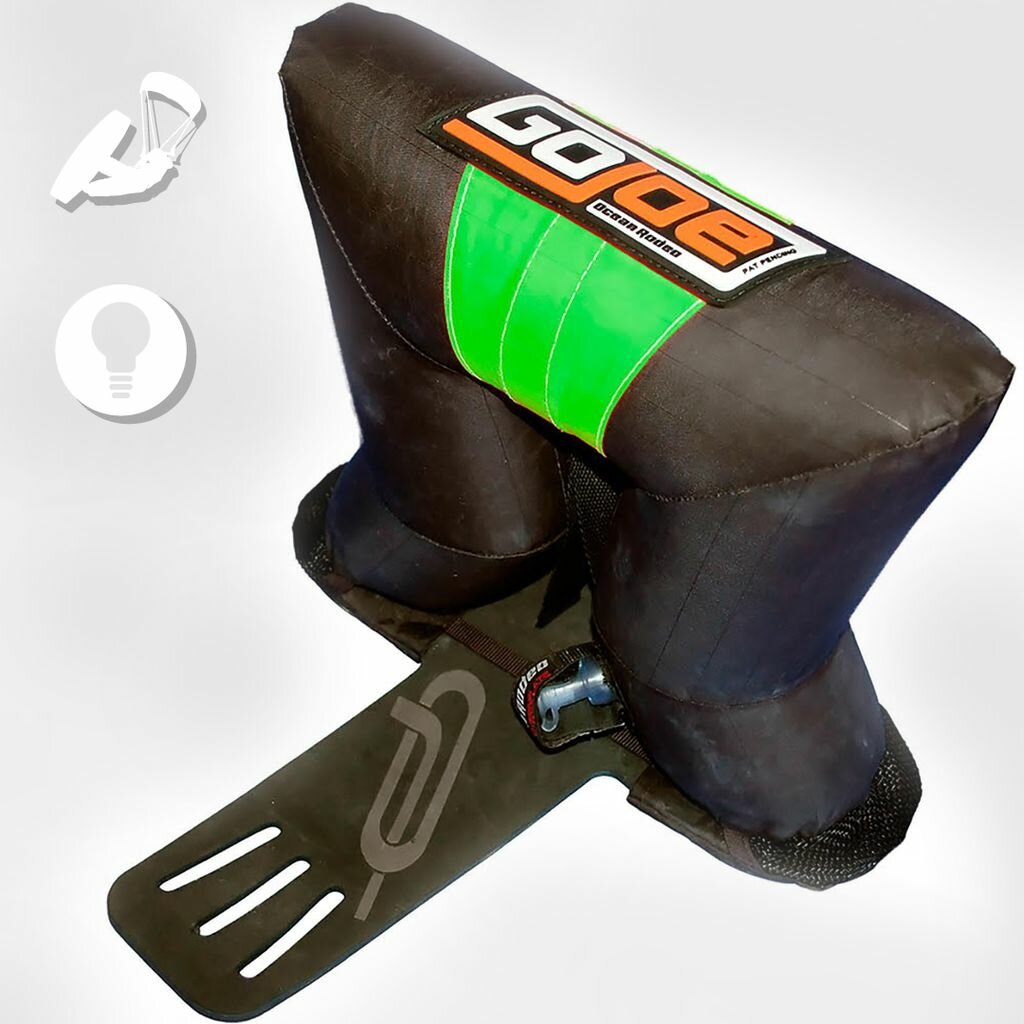
What is a GoJoe? Have you ever heard of it? What about seen one or let alone used one? The GoJoe is a leash board recovery tool. It is an inflatable body that is designed to sit unobtrusively between your feet on the board. If you ever lose your board the GoJoe will make your board easily visible by flipping your board over for you and catching the wind sailing the board down the wind so that it is never far from you after a crash or hard landing.
Some schools and instructors around the world are using them; now the question is… should you? The truth is that it is not always necessary but it can be useful. It is an awesome tool for students with difficulties to get the board back or places with strong currents that make the board harder to rescue.
GoJoe is the perfect solution for people who are afraid to stop using their board leash because of the difficulties they have body dragging or the conditions at their spot. Many people who are still using a board leash believe they are not dangerous as they have yet to have an accident with one.
If the GoJoe is an idea and concept you like though you do not want to invest the money, another alternative is buying an arm buoy for kids and inflating it around your board handle. This won’t be as effective though it will still help with board recovery and save you money.
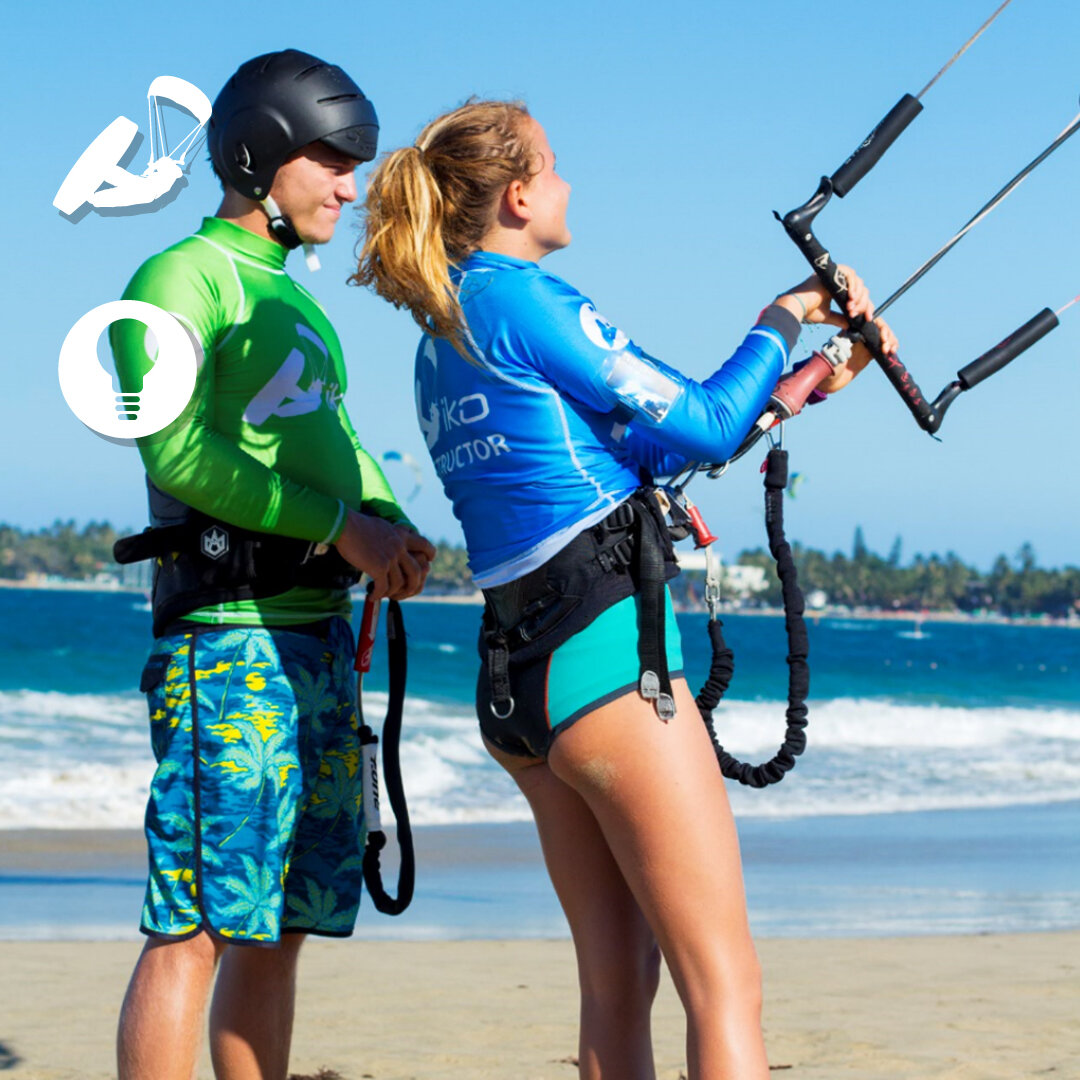
This is one of the main safety improvements from the last years. IKO has set this new standard for both students and Instructors. The kite leash must always be connected in the front part of the pilot’s harness. However most of the kiters, Instructors and students still have it connected on the harness handle with no special reason, just because ‘everybody does it this way’. There is a huge difference in terms of safety, whilst in the front, the quick release of the kite leash will always be easily accessible for the pilot; when connected to the back, in a serious situation (kite still looping), the pilot cannot access it and is in danger. Many accidents have happened this way, do not let it happen to you. If you do not unhook it is strongly recommended to use a short leash.
We are frequently inquired by passionate kiteboarders all around the world asking whether or not it is actually possible to make a living from kiteboarding. The simple answer is yes. Thousands of kiteboarders around the world already are. There are many ways of entering the kiteboarding business world.
Some popular ways are by either working in or owning a kiteboarding company, hosting kiteboarding excursions, running a kiteboarding center and or being an IKO kiteboarding Instructor that teaches locally as well internationally by following the wind.
If you are planning on entering the kiteboarding world as a career and not sure where to begin, we would recommend becoming an IKO Instructor. In 10 days you can become a fully certified IKO Instructor and begin working in one of the 230 IKO Centers to choose from around the world. By becoming an Instructor you will not only learn more about this amazing sport though you will be taking a step in the right direction to learn more about the kiteboarding business world as a whole.
Would you like to turn your passion into a living? If you are already involved in the kiteboarding business world, how have you integrated?
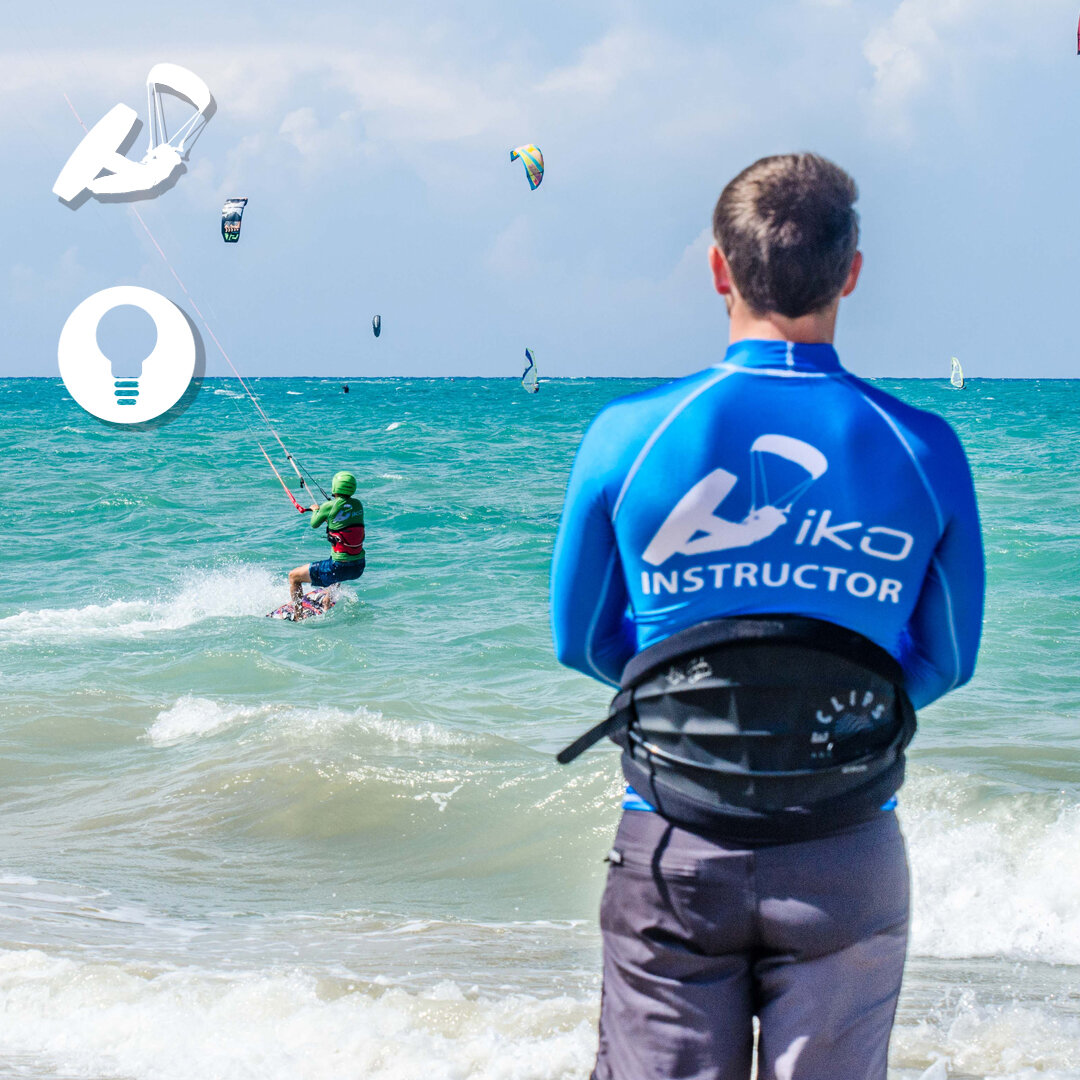
Becoming a master in any aspect in life requires diving deep below the surface. Taking extra time to understand and practice the basics to build a solid foundation to build upon. In the world of kiteboarding very few kiteboarders, after taking their first lessons ever, decide to go back and take more lessons to evolve themselves and develop further.
Whether you have been kiteboarding for 1 month or 10 years you can always improve in one aspect or another. The first steps to mastering kiteboarding is understanding the practical and theoretical side of the sport. Asking questions to yourself like:
-
What are the right of way rules?
-
How does my kite actually work?
-
How do I repair, tune and maintain my equipment?
-
How do I properly self-rescue myself?
-
How can I help rescue someone who needs help?
-
How can I surf a wave better?
-
How can I jump higher?
Asking yourself questions like this, finding the answers, talking with others about it and practicing in a controlled environment with an expert, is the way to learning more and mastering this extreme sport.
You can improve whether it is by taking private lessons with an IKO Coach or joining an IKO Evolution Clinic or an Assistant Course (AITC). If you want to become not only a more confident kiteboarder though be safer overall when kiteboarding- furthering your kiteboarding knowledge will be an important part of that. Check out your local IKO Center or the courses section on our website to book a lesson near you.
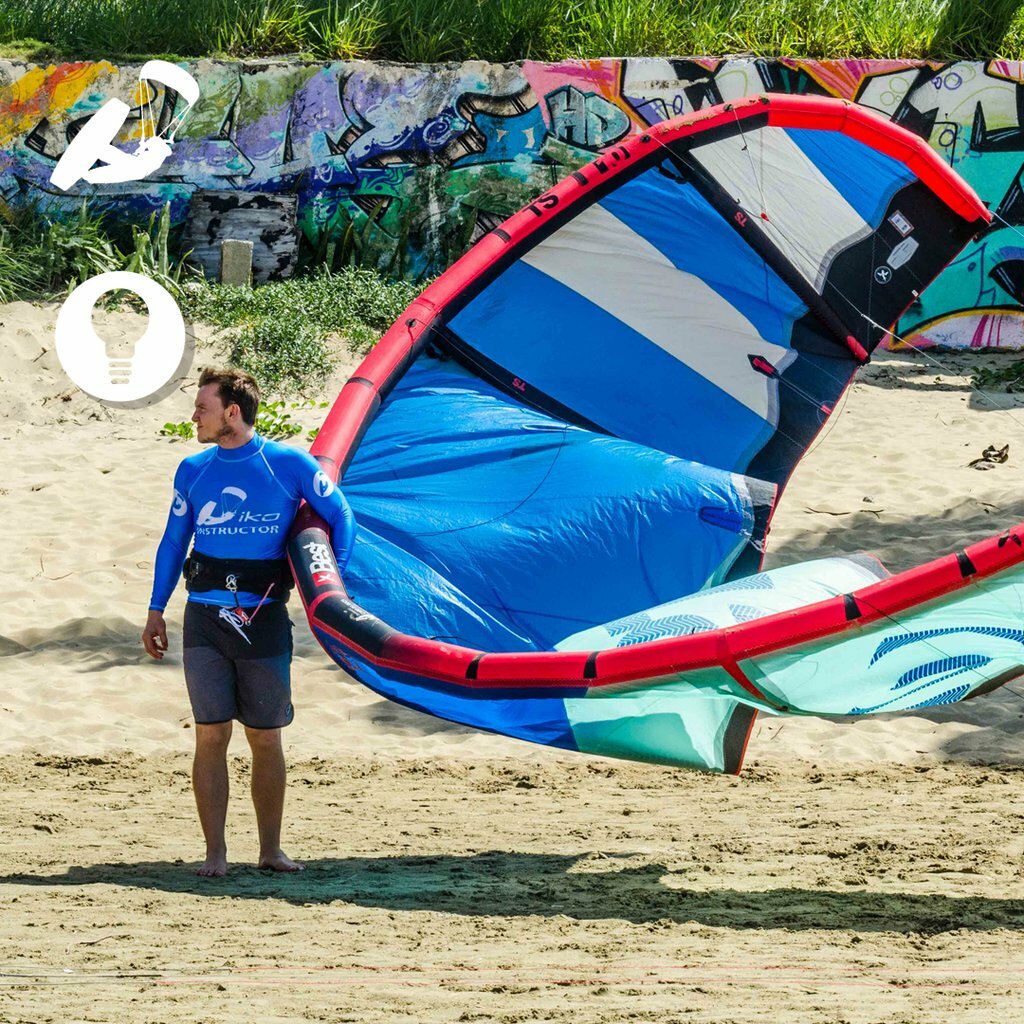
Where is your leash positioned on your harness right now? If you have yet to move your leash to the front of your harness, go do that now before continuing to read any further. Over the last months we have been pushing and reminding Instructors as well as kiteboarders about this easy and important safety change.
Instead of using a leash on your back or sides it is best to attach it directly in the front. This makes your leash accessible to both hands at all times whether to hook in or release during an emergency.
If you are one of the kiteboarders with a long leash, you can now consider changing your leash for comfort and accessibility. Having a long leash does not make sense for anyone other than those practicing unhook wakestyle. If you are a beginner, wave rider or cruiser there is no need to have a long leash. Nowadays most brands will have a short leash option available.
What is great about this safety improvement is that many brands and companies have realized the safety benefits and altered their designs according to this. Creating simple ways to attach one's leash to the front and supplying short leashes with bars instead of long ones.
If you have yet to change your leash position on your harness or its length - do not wait any longer or until an accident. Do it now, you won’t regret it!
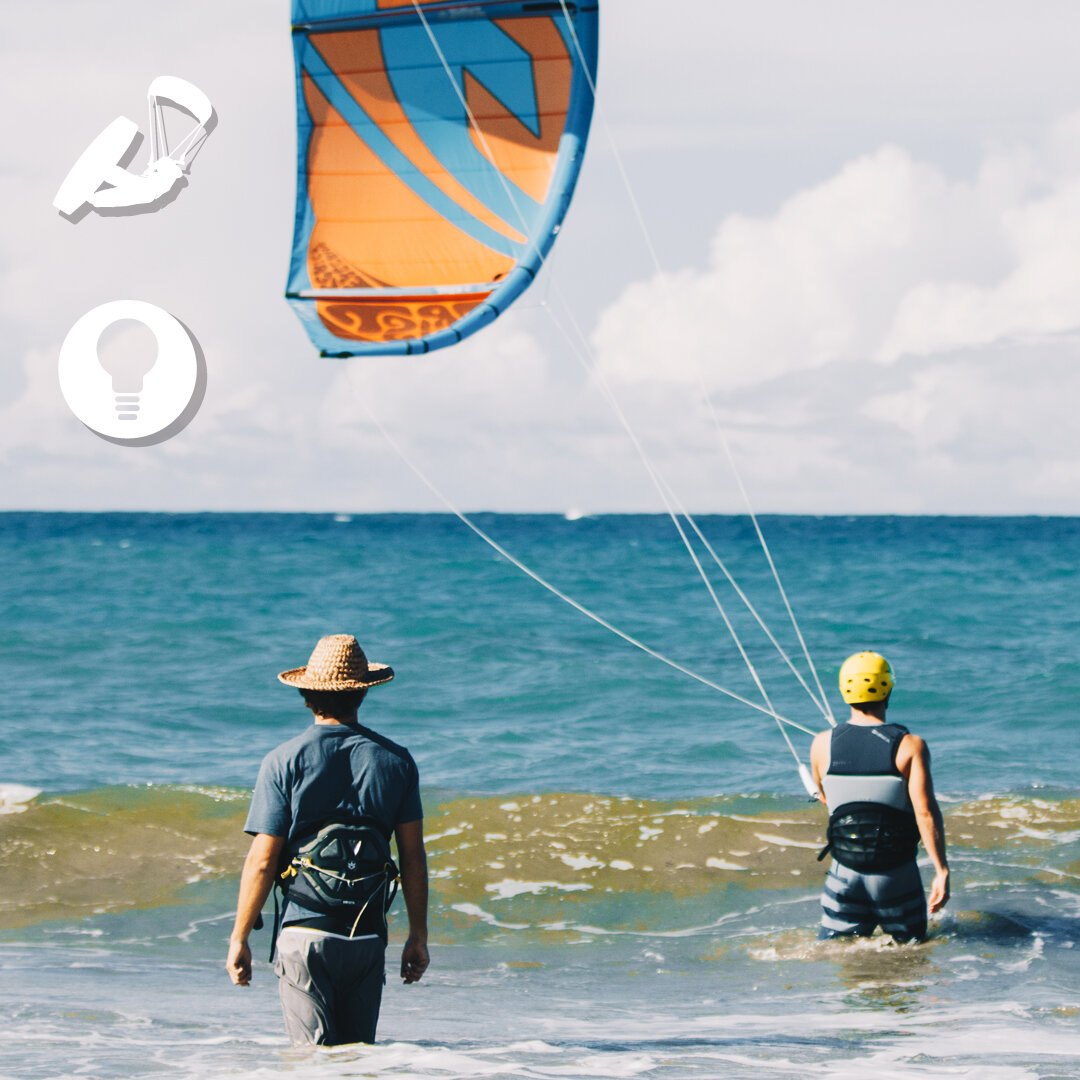
If you have ever passed by an IKO Center you probably have realized that kiteboarders in the beginning stages are using very short lines. The IKO Professional Community for many years has been implementing and using this simple yet highly effective adjustment in their teaching programs.
When we are talking “short lines” we are talking 5m. The 5m lines can be used in the beginning up into body dragging and steady pull. This method reduces the stress of both the student and the Instructor. Allowing the Instructor to be closer to the student and reducing mistakes to have less negative consequences physically and mentally on the student. The short lines reduces the size of the wind window, thus reducing the space needed for a lesson and negative impact on other beach users.
The short line method stimulates positive discovery urges in students. As you can reduce the kite’s power. This means you can have a 4-line LEI kite flying without power and it can be considered a trainer kite according to IKO Standards. Easily managing stronger and gusty wind conditions.
When using shorting lines, kite crashes are also much softer; causing less damage to the equipment. Additionally with short lines, it is nearly impossible to loop the kite. When using short lines it reduces the amount of time spent on equipment management*, (one kite and different line lengths) according to the student’s level, weight and weather condition.
As an example of a courses in normal wind condition would go as followed:
5m lines for discovery level until the student has good control of the kite in all part of the WW and know how and when to use the safety system. (5m lines can also be used in the body drags and steady pull)
10/12m lines for intermediate level until the first attempts of the water start
20/22m lines for water start and riding
What are your thoughts and experience on short lines? Do you prefer this method over using a small foil/trainer kite and then moving to long lines? Let us know your personal and professional experience below both from the Instructor and Student point of view.
*It is easier and faster to change the length of the lines than to change a kite. You should make a gradual transition to longer lines when the student has demonstrated good control using the shorter lines and you need to move on to other exercises that require more power in the kite.
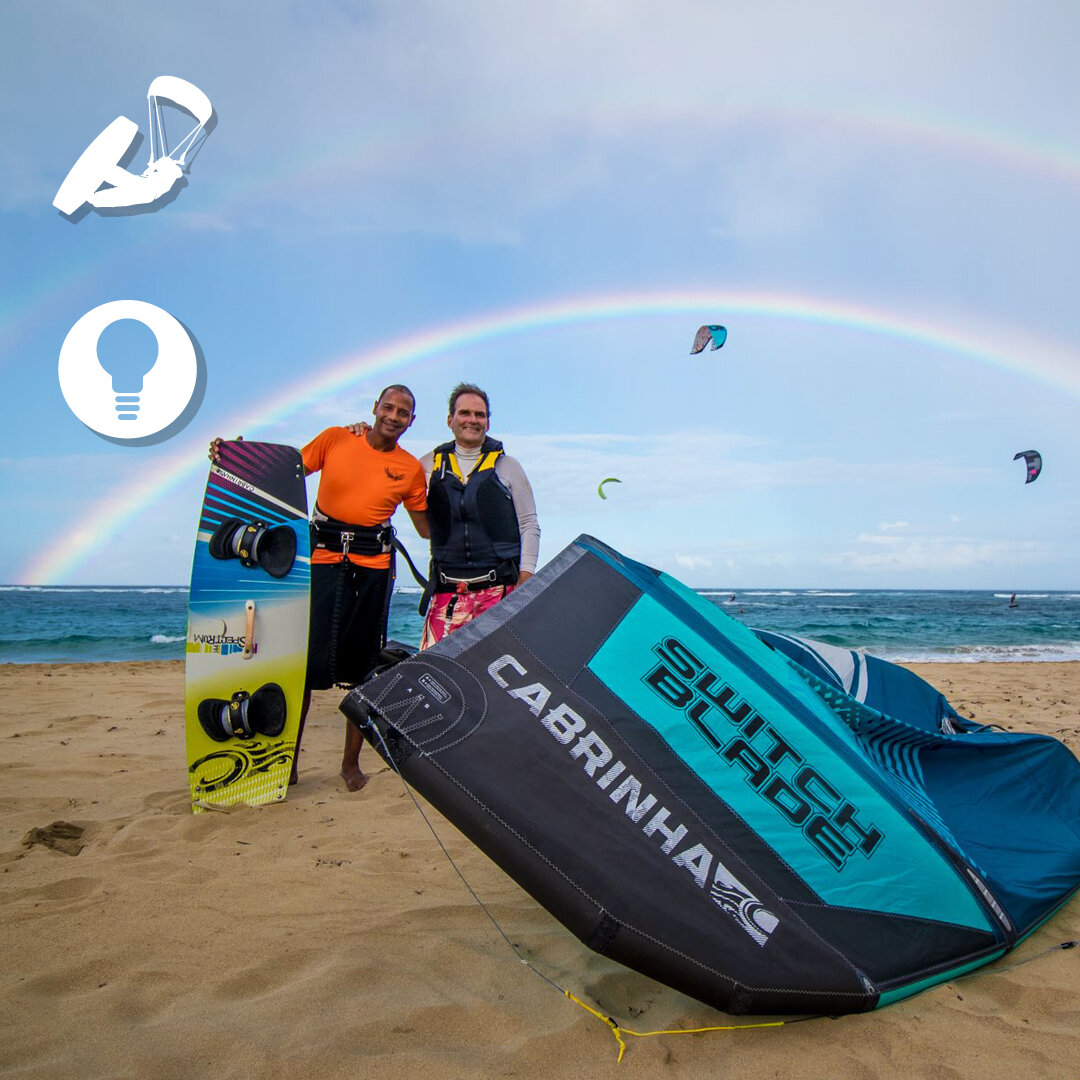
No matter how fast or slow we progressed in our kitesurfing, at some point we will eventually slow down. We get to a point where we are not progressing as fast as we used to and this is exactly the moment where we plateau.
Most people when they learn to kiteboard, use an Instructor up until they become independent. They take the initial course package and once they can ride upwind and/or manage themselves they go off all on their own. At this point, those that are ambitious start testing and pushing their limits to begin developing their skills whilst some others take their time and just enjoy the beauty in the basics.
It was rare before though now it is becoming more common for an intermediate kiter to get 1 on 1 coaching or join a clinic to improve their level. As kiters we often forget the power of getting coached. All the greats of any sport has a coach by their side and mentor to help. A coach will be especially useful for when you have slowed down or plateaued as they will help invigorate and guide you once again to improve in any direction you wish.
To answer the question of if one should seek out coaching even if they are at an intermediate kitesurfing level? The answer is a definite yes! We all have room for improvement and/or plateau at some point which is why it is good to get some coaching to challenge and push ourselves to stay excited about the sport we love.
What is your level and have you ever considered getting coached? Would you prefer getting coached one on one or within a group clinic environment?
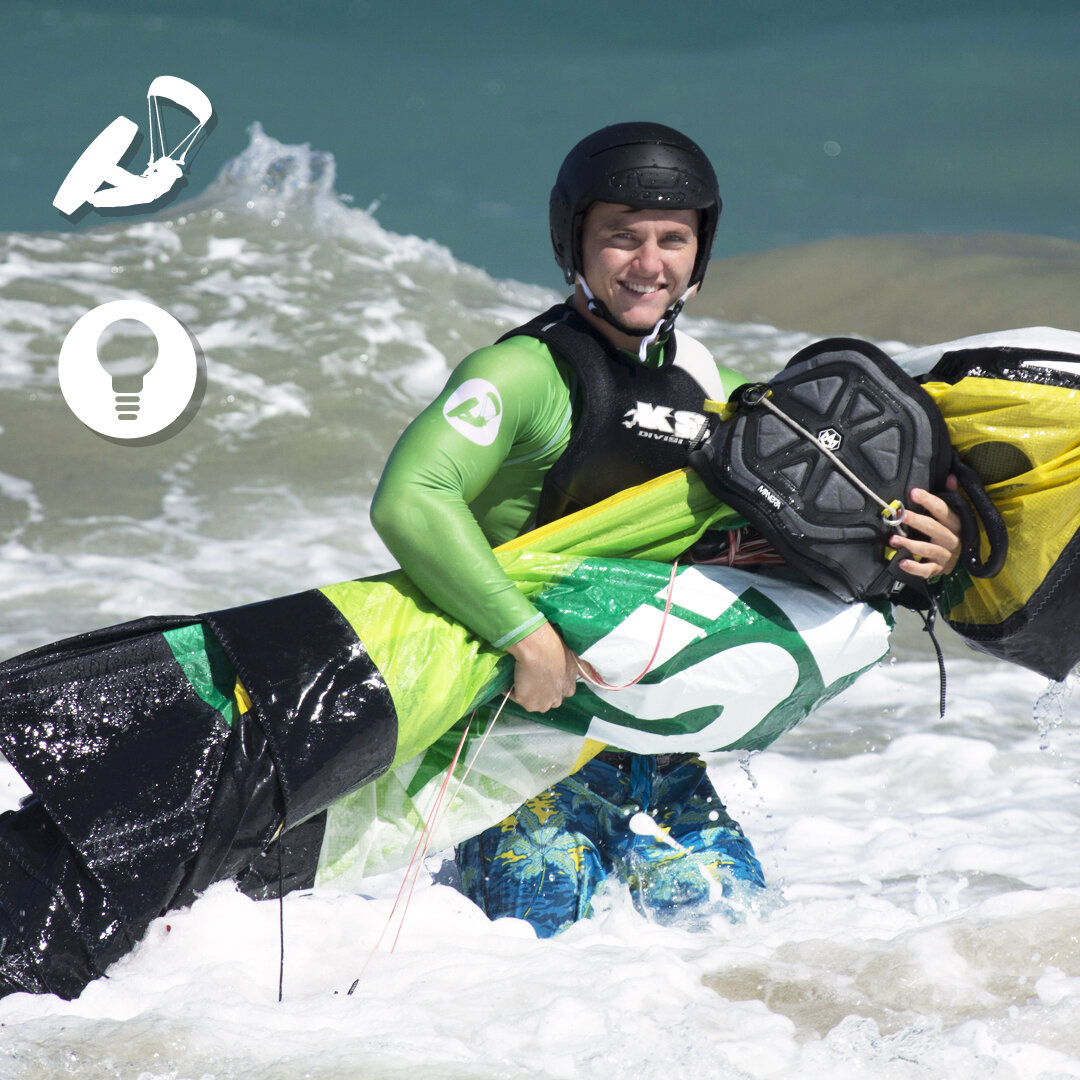
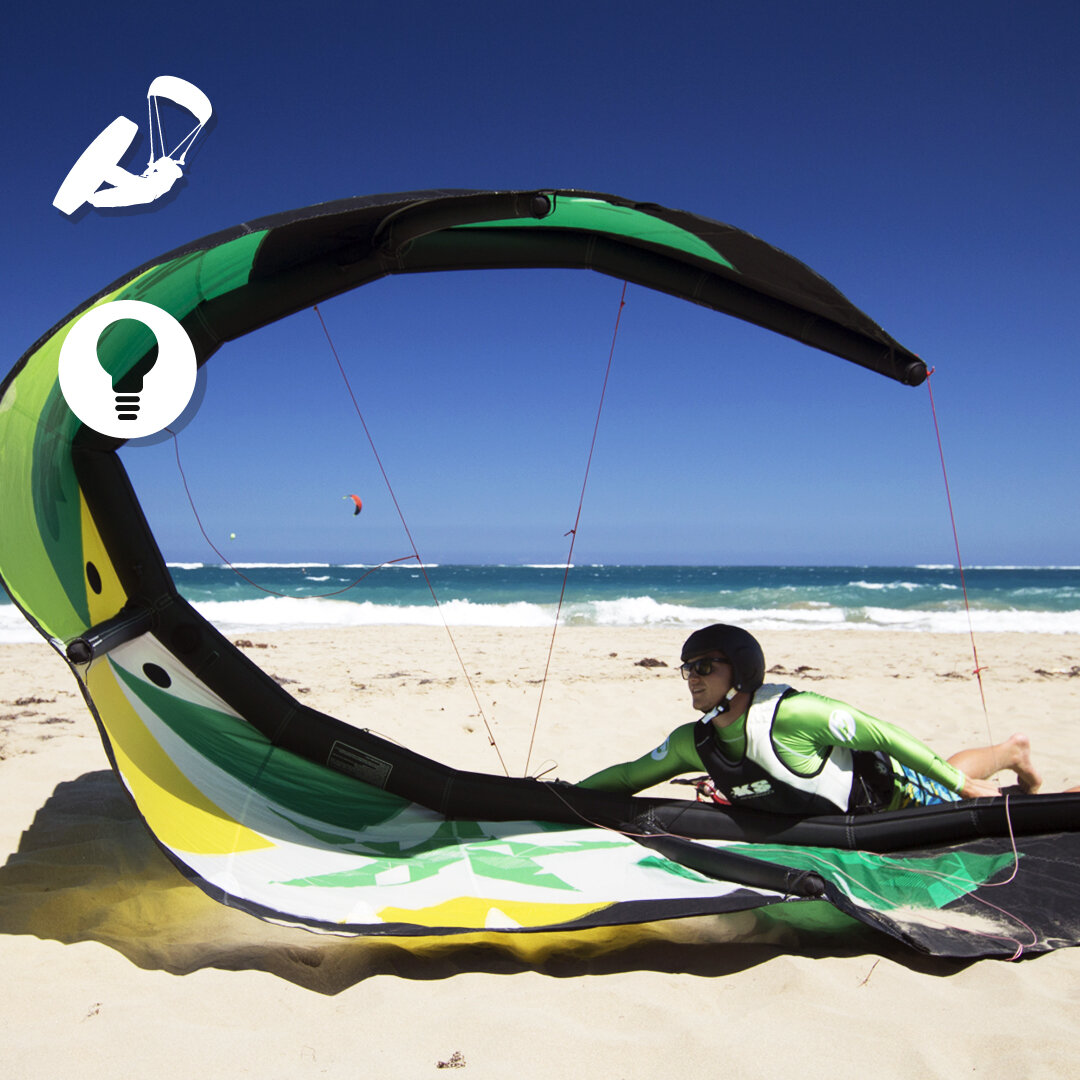
Believe it or not, we have heard this question thousands of times across the globe. The question is popular amongst students and/or riders who have not learned with a certified Instructor.
The questions and debates of whether you should learn the safety side of kiteboarding, follow the right of way rules, amongst other topics are not uncommon. It is actually great to ask questions and start debates as these are some of the best ways to attaining insight and knowledge.
Depending where you are learning or riding in the world you will encounter different variables. The wind, the landscape, the equipment, the Instructor you find amongst other variables change. Established principles do not change. A standardized way of teaching helps maintain the final outcome of a course, to become independent. The idea of taking a kiteboarding course is not only to get up and riding. The point is to learn the theoretical, practical and safety side of kiteboarding to become an independent kiteboarder.
What is an independent kiteboarder? An independent kiteboarder is someone who is self-sufficient that can adapt to any given situation in any given spot or weather conditions. They can get on and off the water and handle themselves in any situation that might arise. They have a solid foundation and understanding that can help them push any direction of the sport they decide.
So is it important to learn how to self-rescue kiteboarding? The answer is yes! Learning to self-rescue is one of the many important skills to becoming a confident independent kiteboarder. Learning the theoretical, practical and safety side of the sport is part of any IKO Course someone would take, no matter where in the world.
Do you feel like you are an independent kiteboarder - why or why not? Let us know in the comment section below.
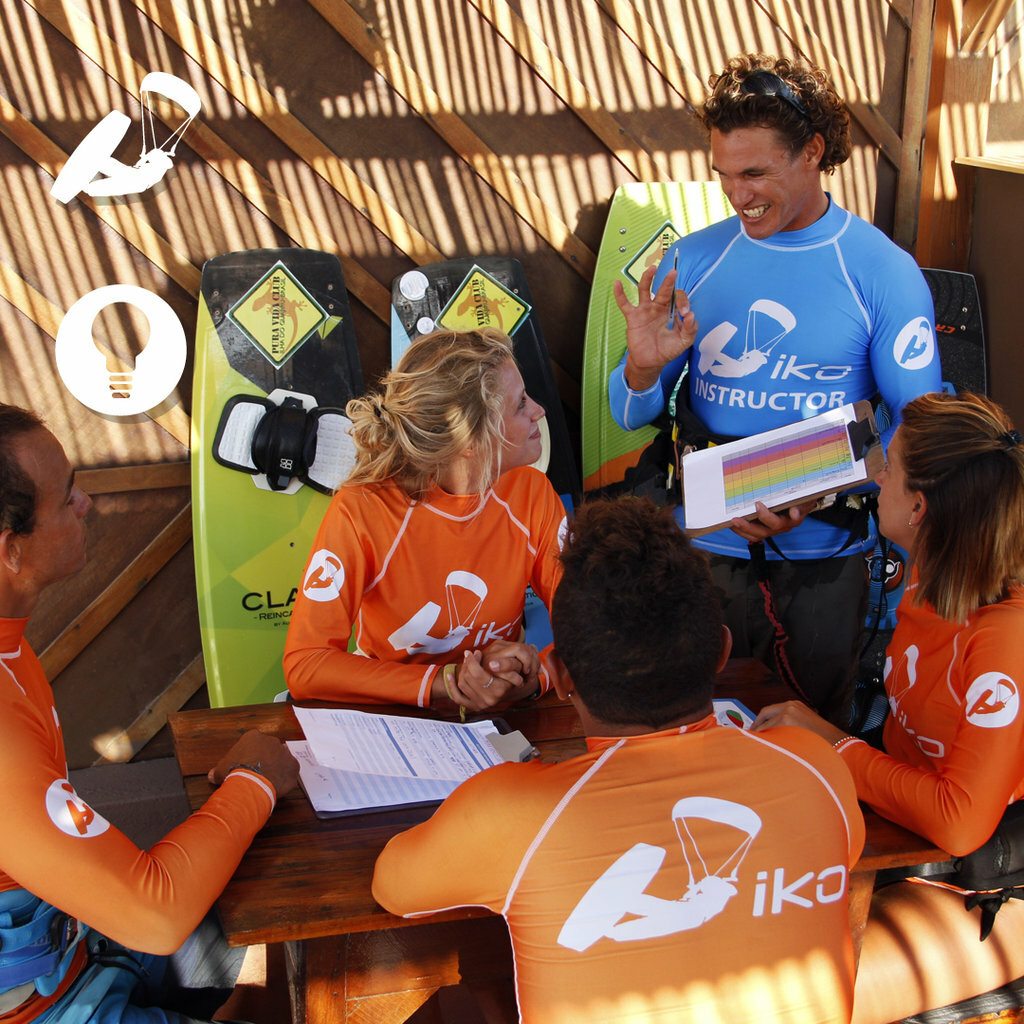
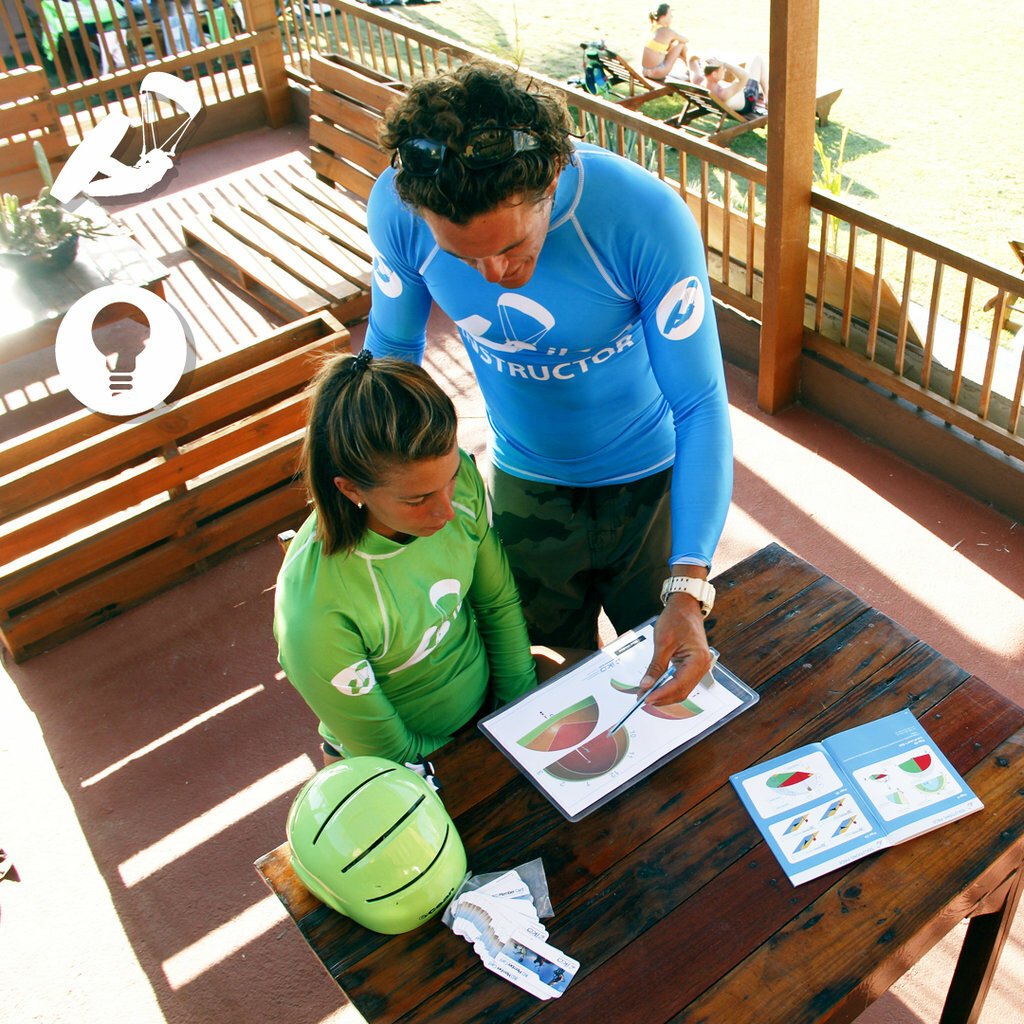
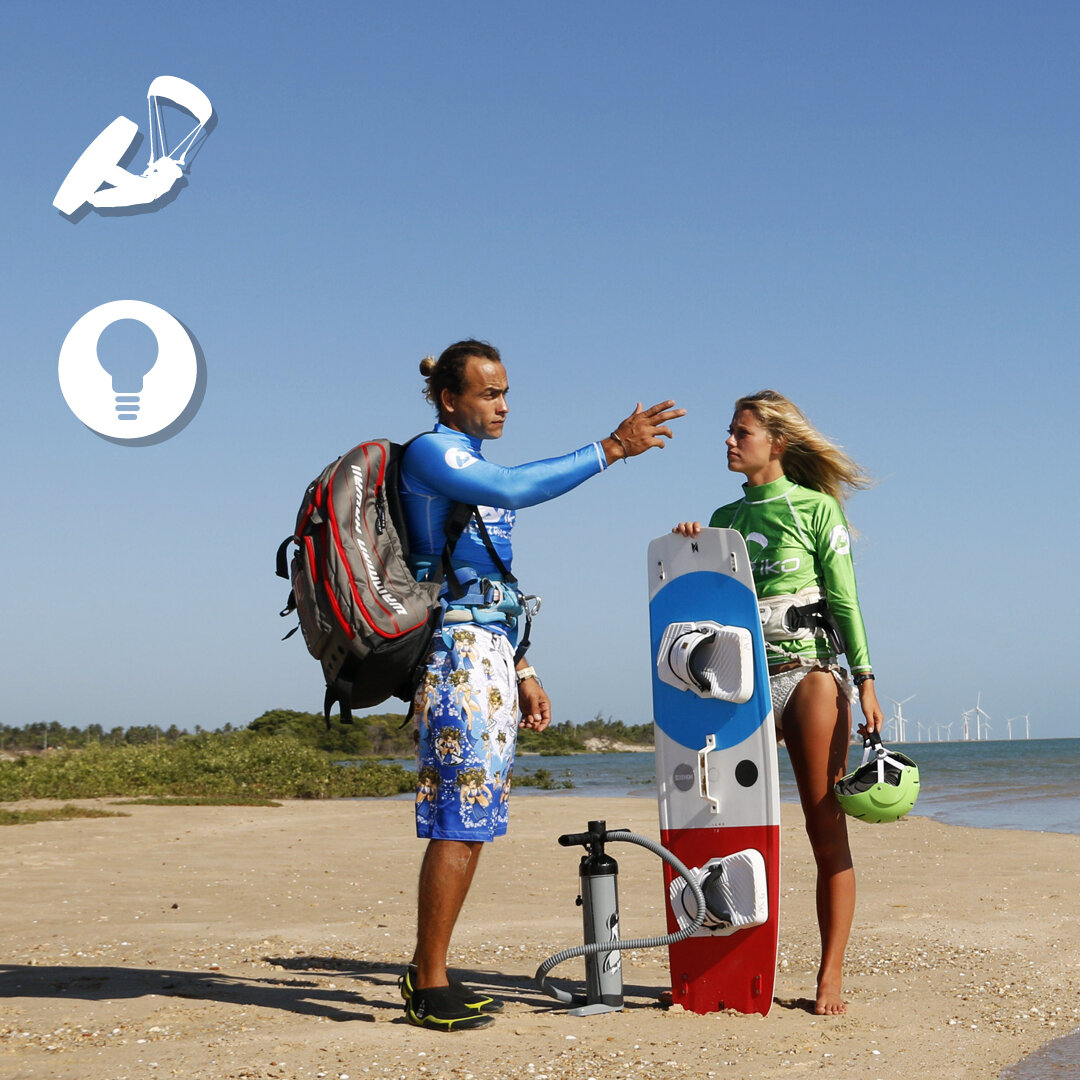
Many people find learning theory both boring and unnecessary. The truth is that learning the theoretical side is super important. Theories greatly help us gain insight and understanding before practical training.
Imagine if you have no knowledge of the elements or kite equipment and someone gives you kite gear and tells you to learn… How would you go about learning? It would be extremely difficult, time consuming and dangerous. The early pioneers of kiteboarding have done the hard work for us. They figured out what works, what doesn’t and what we must know to get out riding.
Theory essentially helps leapfrog the learning process. Learning about the wind, sea, cloud formations, weather forecasts is the foundation to becoming an independent kiteboarder. This is why it is important for people looking to learn kiteboarding to get taught by a certified instructor.
Not learning the theoretical aspect of the kiteboarding is one of the main mistake made by kiters. Why? Mainly because kiteboarding is an ‘easy-to-learn’ sport (compared to surf or windsurf for example) and as a result; once in the water together; many kiters have no idea about simple knowledge such as right of way. Do not be like this and learn all the aspects of kiteboarding!
A question to all IKO certified Instructors: How long does it take you to teach your students the theoretical side of the sport and what do you believe to be the most important topics? Let us know in the comment section below!
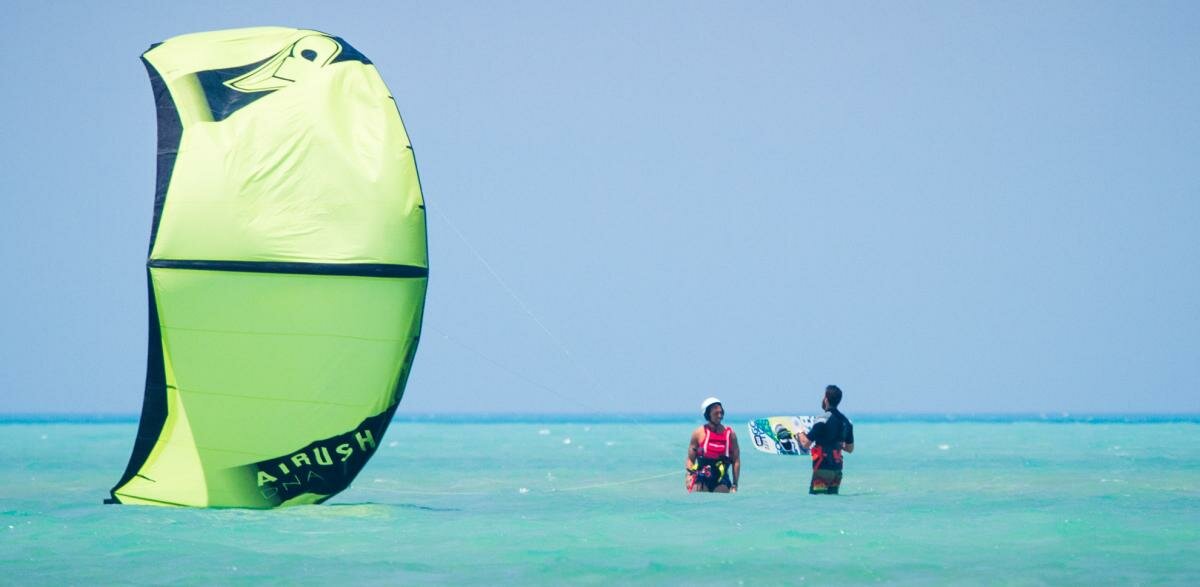
Wherever you travel in the world to teach or kite, you will encounter different water and wind conditions. Here are some tips for the different water conditions.
Shallow Waters:
Shallow water spots are the easiest for learning, however make sure that:
-
The water is always at least waist deep.
-
The seabed is clear of hazards that might harm you.
-
Even in shallow water when teaching, students must wear a buoyancy aid at all times. If you are kiting, it is strongly advise to wear at least an impact vest.
Deep Waters (from a boat):
When teaching from a boat, the Student-to-Instructor ratio must be reduced to 1:1 to ensure the Instructor can fully support their students.
-
Students should show the necessary skills to leave from and return to the beach.
-
The boat is not only for rescue, but also to act as a teaching platform and trajectory reference point.
-
The boat should never be placed directly downwind, or in the path of a student where it might become a hazard.
Note: Students that are only taught from a boat in deep water spots are not considered independent and should be redirected to a spot where they could also practice on land to finalize their training.
Shore Breaks:
Students should never be taught in spots with shore breaks waist high or above (from the base of the wave). Precautions must be taken with small shore breaks (less than waist high):
-
All training must take place at a safe distance from the pull of the break. Students must body-drag out through the break until they are safely away from it.
-
The Instructor can take the student out through the shore break and then hand over the kite to the student once they are far beyond the reach of the waves. When using this technique, an Assistant Instructor must stay on land to ensure the student’s safety in case the Instructor let go the student and swims back to the shore.
Note: Students must be particularly careful not to drop the kite in the shore break or whitewater. If this happens in shore breaks and the kite is not easily relaunched, students should activate the chicken loop quick release straightaway and swim back to shore.
We hope this helps refresh and prepare you for any water condition you might encounter when teaching or kiting!
What is your favorite water conditions to teach or kite in and find most beneficial to the student or personal improvement in the long run? Let us know in the comments.
Stay Safe,
IKO
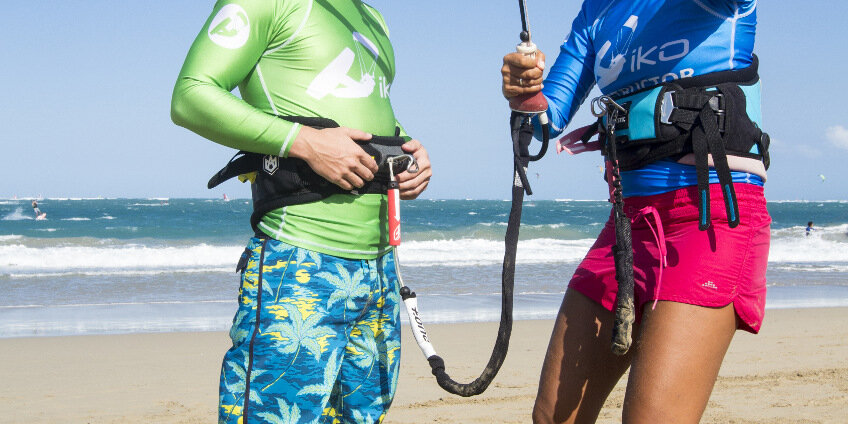
This is an important reminder why you need to connect your kite leash in the front! We already wrote two different tips about this in 2017, many have made the adjustment and thanked us though we want to reinforce this important modification so that everyone is safer out while kiteboarding!
The main reason you want to have your kite leash connected in the front of your harness no matter whether you are foiling, wave riding, free styling or just riding around is to make the leash quick release easily reachable with both hands incase you need to use it.
Here is an example: If you are kiteboarding in deep waters, you have an accident, release your kite though the kite lines managed to wrap around the bar and now your kite is fully powered doing death loops. If your leash is connect to your back you will be getting pulled backwards and most likely have a very hard time to reach your kite leash quick release, it may even be impossible. If your leash was attached to your front you would be facing the kite to either try and recover control of the kite or easily release.
When deciding which leash to use. Considering that most kiteboarders are not unhooking. We therefore recommend using a short leash to avoid having additional rope hanging around you.
Whenever you decide to go kiteboarding make sure before starting your session and after finishing your session that your safety leash is connected and in good conditions.
Remember, if you want optimal safety and function of your leash; connect it in the front! If you already have your leash in the front, tag a friend who does not to make them aware of the danger.
Stay safe,
IKO
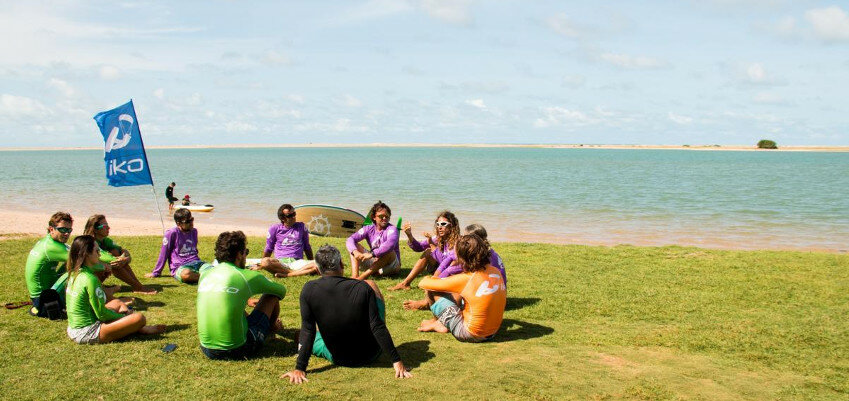
New Organizer Guide now available!
The AITC, ITC, and Coach Organizer Guides are now combined into one guide. All charts with the incomes and expenses are clearly visible, as well as the organizer task list before, during and after the training. This will help Centers to stay organized.
Quality is everything. To ensure the Assistant and Instructor candidates are trained properly, it is important they receive the course content in color (exception are made only where it is costly or not possible). IKO will verify that the guides are printed in color by the feedback sent from the candidates at the end of the course.
To control and improve the quality of the Assistant Trainer course, only ONE Assistant Trainer can be trained during an Assistant Trainer course, given there is at least 2 Assistant candidates. The Assistant Trainer course is no longer the responsibility of the school. Assistant Trainers need to contact the IKO to schedule their course. It is highly recommended to follow an AITC as an observer before doing the real ATTC. Expect this procedure to become mandatory before the end of 2018.
Assistant Course
The AITC-Plus will be renamed and simplified to AITC. We will push that all websites will be updated accordingly. This course has been a major success of the IKO in 2017. Many candidates have provided positives feedback about it. We are now working to update the manual with the feedback we have received from both Candidates and the Examiner team. We plan to release an updated version in Spring 2018.
Note that now Assistant candidates are required to be a kiteboarder Level 4 or equivalent instead of being level 3N. This will help candidates be better prepared for the course.
Instructor Course
Printed copies of the kiteboarder handbooks are no longer included in the ITC pack. The handbook are now available free for all Instructors with a valid membership as eBook on the IKO app. ITC candidates will now receive IKO merchandise and 5 certification credits after their course. Certification cards will disappear as Virtual Card (Vcard) on the IKO App will become more popular. Instructor Level 1 can now teach up to the kiteboarder Level 4 and certify their students online.
Final update and reminder
During pro courses, every candidates must wear a helmet during beach exercises/workshops/teaching practices as well as a buoyancy aid when in the water. Additionally, remember that every Assistant Instructor, Instructor, Assistant Trainer and Examiner must also connect their leash to the front/side part of their harness at all times. This is a global effort to give the proper image and example to current and future students.
Thank you for reading and understanding,
If any questions please do not hesitate to contact us,
Windy Regards,
IKO

Various psychological studies have made it clear that every day that goes by we are losing our concentration power! One study concluded we have a shorter attention span than a goldfish! Goldfishes have 9 seconds and us humans coming in with a whopping 8 seconds.
Impressive….
Now, this proposes a challenge to everyone from teachers, guides, marketers, bosses, companies and anyone who is trying to get and keep your attention. Part of the IKO Instructor Course is about human psychology and ways to overcome such challenges.
When an IKO Instructor is teaching someone there is a lot of new information being put out and one must help the student process as well retain to be able to progress, stay safe and learn to kiteboard - this is why the instructor must have the proper know how to properly teach.
Short-term memory is the capacity to remember sensations, words or visual inputs that occurred in the last few minutes. This information is stored in the brain for only a short period of time. It will be lost unless it can be transferred to the long-term memory, where it will be stored and recalled at a later date.
The key to teaching is to help students transfer their newly acquired knowledge from short-term to long-term memory. To help students integrate an action into long-term memory (instead of short-term), they should do the action just learned or carried out, along with their thoughts right after doing it.
Instructors should take the time to obtain students’ feedback right after attempting each exercise as this will help them remember much more (letting them talk by rephrasing and explaining the things they just heard or achieved, and encouraging them do it again is some ways to ingrain the new information and skills).
The whole learning process is stronger if students analyze a skill or situation, and develop an understanding around it. This is much more powerful than just copying a skill, which invariably leads to less memory and skill retention.
Here is a breakdown of how much is actually retained by the student as the training components come together.
Skills attained
Theory + : 10-20%
Demonstration + : 30-35%
Practice + : 60-70%
Feedback + : 70-80%
Coaching :80-90%
Interesting isn’t it!?
Now if your attention span allowed you to finish reading this post congratulations and let us know in the comments below if your memory has ever failed you whilst learning to kiteboard.
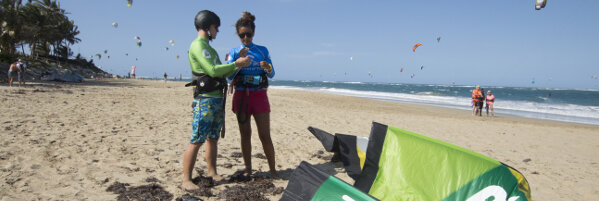
Over a decade ago, we had a vision of getting anyone from zero experience to an independent kiteboarder. Safety and efficiency were at the forefront of our ways! To date, IKO has certified thousands of Instructors around the globe and those Instructors combined have helped hundreds of thousands of individuals become kiteboarders!
IKO Instructors have a very important role as they are the gatekeepers to getting someone into the kite world! Instructors teach and guide individuals through the progression so that they can become a confident independent kiteboarder!
The progression is based on the feedback loop principle where the Instructor and Student interact continuously. With this continuous feedback, the Instructor can help fine tune his teaching method exactly to the students' most efficient way of learning while still following the IKO step by step progression.
Psychology plays a big role in the progression. During our pro courses, Instructors learn the in-depth ways of how to properly motivate, instruct and understand any individual.
Since the beginning, the core teaching principles of the IKO have stayed the same! As times goes on we will continue to evolve and improve accordingly.
Haven’t yet learned to kiteboard? Check out our website to find an IKO Center near you.
If you are already a kiter and want to turn your passion into a part or full-time career because you love the lifestyle and sport; make sure to look into our training calendar to join the team and become a certified IKO Instructor!

IKO Centers and Instructors are now bombarded with an array of choices when it comes down to what equipment to teach on. The right choice of kite, line length, and control bar will enhance student's safety, fun, comfort and progression curve!
Over the last decade, we have been fine tuning our policies when it comes to what equipment is ideal to be used during classes. We strongly believe that IKO Instructors and Centers should be focused on choosing a kite size that is matched accordingly to the exercise level, the weather conditions, and the student’s weight.
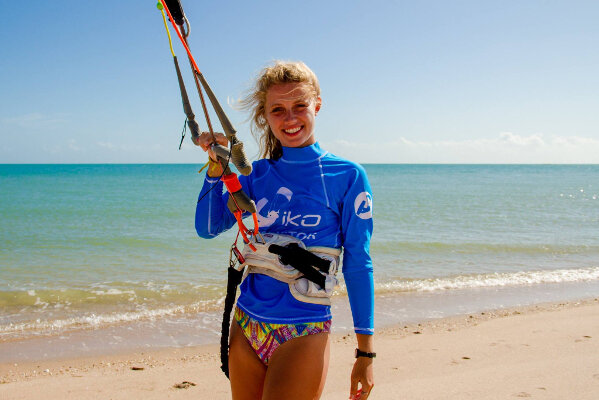
The kite should be easy to relaunch and not overpowering the student at any time while on land and/or during the first attempts of water-start. The IKO Center should have control bars with both short and long lines to match the student's level of understanding and control skills. It is very important that the bar has the re-ride safety system on one front line or use a 5th line, a functioning quick release system and the kite leash has a quick release.
As a student, when you were learning did your Instructor follow these guidelines?
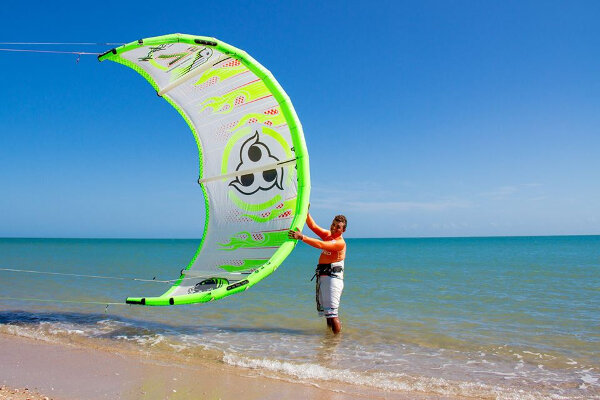
As an Instructor, have you been following these guidelines? If not, why? Is there anything else you think is essential on this aspect and you would like to share?
| Contact IKO | |
 |
Call us |
| Our office team is available from 12:00 p.m to 5:00 p.m and 6:00 p.m to 8:30 p.m UTC/GMT. +1(809) 5719530 |
|
 |
Email us |
| Not found your answer from the FAQs? We experience high volume requests, however we will do our best to answer as soon as possible. |
|
| Contact IKO | |
 |
Call us |
| Our office team is available from 12:00 p.m to 5:00 p.m and 6:00 p.m to 8:30 p.m UTC/GMT. +1(809) 5719530 |
|
 |
Email us |
| Not found your answer from the FAQs? We experience high volume requests, however we will do our best to answer as soon as possible. |
|
.png)

