Try the new IKO website at https://beta.ikointl.com/
How to Take Good Kiteboarding Videos and Pictures
Author: Kristin Vincenzo
Admit it. You get a little jealous when you see other kiteboarders post kiteboarding videos and pictures on social media. You’re finally kiteboarding at a level you feel deserves to be captured on film, but when you take pictures and video of you and your friends on the water, they don’t turn out well. They are either too far away — making it impossible to tell who is actually in the picture — or they just aren’t good.
You and your friends want pictures that will catch you in action -- make you look like the next Jalou Langeree or Jesse Richman -- but you don’t want to spend the money on a professional photographer to get you there.
We understand you! So here are some tips to getting great kiteboarding action shots without having to hire Toby Bromwich.
First of all...Do You Really Need Kiteboarding Pictures and Videos?
Maybe you’re camera shy…do you really need videos and pictures of yourself kiteboarding? Yeah, you do.
Kiteboarding pictures and videos aren’t only for “showing off” that new trick or making your Facebook community drool over the turquoise waters on your last kiteboarding vacation. A lot of professional kiteboarders and instructors recommend watching videos of yourself to help with progression. You can identify where your errors are happening on a video, and it’s a great way to see how your form is progressing as well. If you can’t see what you’re doing wrong, it’s often hard to correct it. Videos don’t have to be posted on social media, but they can be very helpful for you to keep track of your own progress.
Also, videos and pictures of your kiteboarding adventures are just fun. Whether you share them on social media or not, pictures are memories captured. We forget that sometimes. We’ve all become so obsessed with social media that we forget that it’s nice to have a record of your progress, your trips, and your friends just for yourself.
How to Get the Best Pictures and Videos of Yourself Kiteboarding.
Whatever your reason is for wanting pictures and videos of yourself, here is the best way to get footage of your progression.
Go Sporty! Use a Camera With a Sports Lens.
When capturing an action sport like kiteboarding, your camera lens needs more speed and range than the everyday camera you are used to using. Sports lenses have a faster lens and motor speed, so you can capture the action with faster shutter and autofocus speeds. When shooting from the beach, you’ll need a telephoto lens, probably something in the 300-400mm range minimum. If you want to capture the action up-close, and also be able to see the kiter’s face, the telephoto lens is key.
Canon and Nikon have some great sports lenses, but your local retailer can probably guide you towards other options as well.
When using a sports lens, you can either take turns playing cameraman on the beach or put the camera on a tripod and utilize your camera’s video option. Just make sure that you make mental, or actual, markers in the water so you know when you are in the picture and when you are not. Then you and your friends can do loops in front of the camera and catch the action that way.
Cons of the Sports Lens: Using a sports lens is an awesome way to capture kiteboarding action, but it’s a lot more expensive than using a camera phone or action camera. Most high quality cameras don’t offer the waterproofing protection either, so you’re going to be using the camera for “from the beach” shots. Not a problem at all, but it doesn’t give you flexibility to be in the heart of the action.
Use an Action Camera to Film Friends.
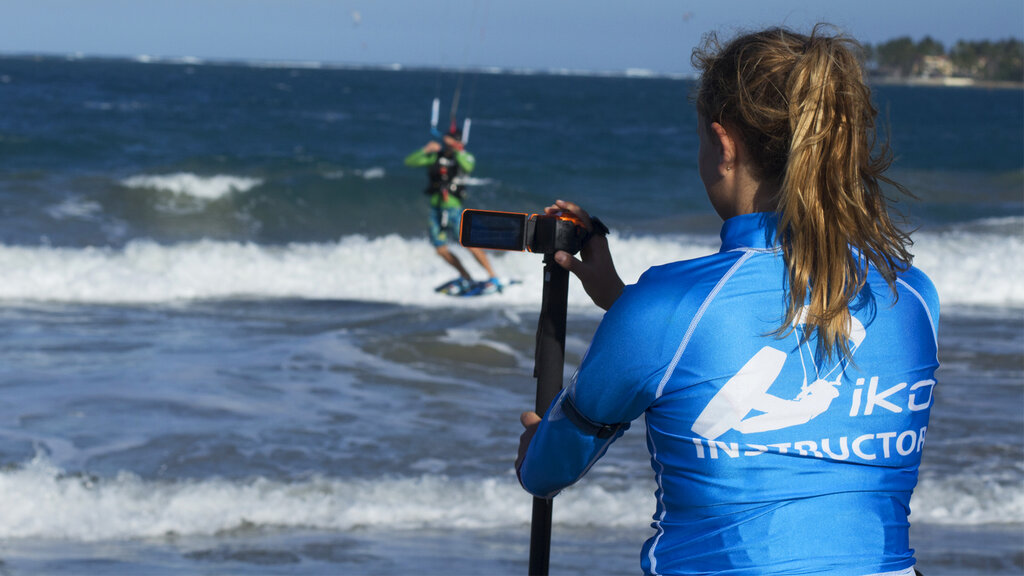
Although you won’t get the same photographic quality as an expensive sports lens, a good action camera is a great way for you and your friends to capture all the action of your kiteboarding sessions. One person stands in the water holding the camera with a handler stick while the other kiters kites close to (or even over???) the cameraman. It’s a very up-close and personal way to get tricks on video, and you can get different angles of the kiter depending on where you stand.
You can also follow each other on the water with the action camera to track your progression. This is a great way to see your form and stance, as well as helping you to identify any errors you may be making before or during a trick. If you’re following and filming, it’s easiest to use a short or extended hand-grip so you can see what you’re filming.
Use an Action Camera to Film Yourself.
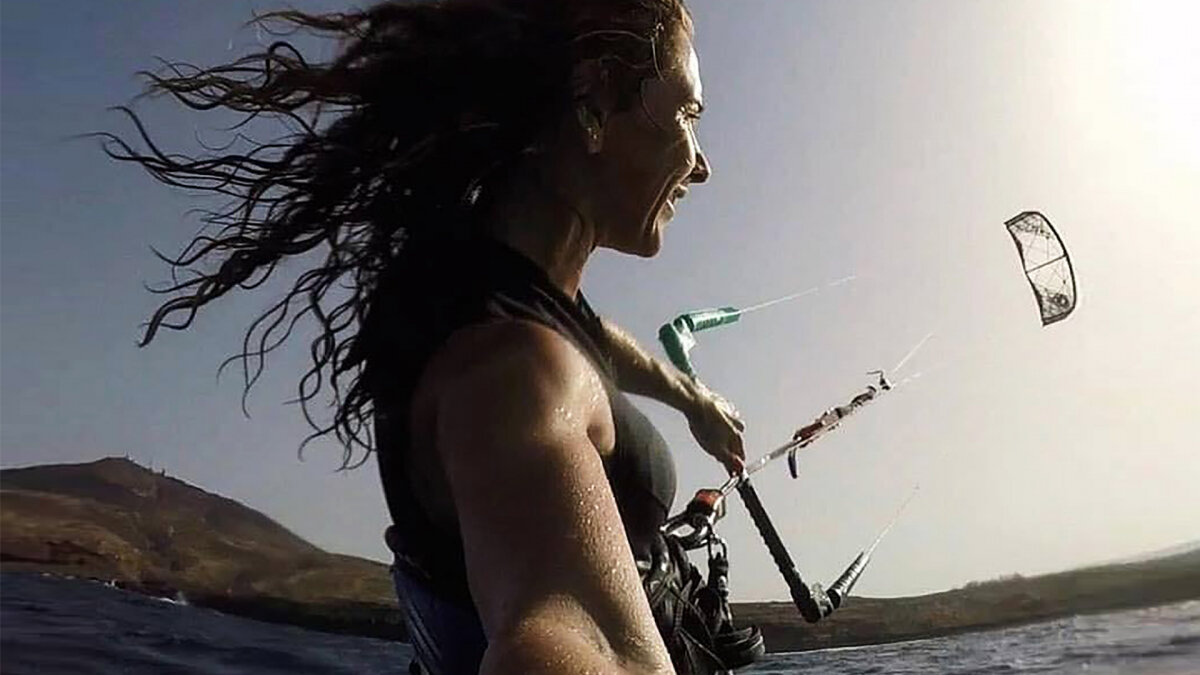
An action camera is also ideal for selfie photos and videos. The different mount options make it easy to capture more kiter perspectives than using your waterproof phone. We recommend these mounts to get the best selfies:
-
Bite Mount — this is ideal for Point of View (POV) shots, as you have probably seen from many of your kiteboarding heroes.
-
Line Mount — A great option for those “bird’s eye view” shots. Although they are very cool, they are also helpful for progression. The line mount view can show you where you may be making any errors. Learning how to strapless waterstart on a foil? The line mount is a great way to see what you may be doing wrong.
-
The short and extended selfie sticks — The extended stick will give you a wider angle for your videos, but the shorter stick will better catch any audio you want to include in the video. Both are great for photos.
-
Regardless of what mount you use, we’ve found that the best settings for selfie photos are either a “burst” setting or .5 second time-lapse. Pro kiteboarder, Sam Light, did one of the better YouTube videos about specific GoPro setting recommendations, and other action cameras have similar settings. You can check it out here.
Don’t do any selfie photo or video sessions without these helpful action camera accessories!
-
Floaty case — you don’t want to lose your session or your camera, so protect yourself from loss with this helpful flotation case.
-
A leash! There may be times when you won’t be able to see your floating camera, so consider using a leash as well, just in case
Cons of using an action camera: Video quality of action cameras has really improved in the last couple versions, but there are some things to keep in mind before using one:
-
Battery life is short. Make sure you charge your camera right up until you’re about to use it.
-
The screen can steam up or water drops on the lens can ruin your session video. Using Rain-X or saliva on the lens before you start filming can help to avoid this issue.
Buy Your Own Cameraman! Use a Motion Tracking Camera
If you don’t have a friend who’s willing to stand in the water and film you, there are some great motion tracking cameras that can track you on the water. Some of them can capture action more than 600 feet (or 180 meters) away in 4K video as it sits on a tripod and tracks you on the water.
Although most action tracking cameras don’t have the quality that a sports lens or even an action camera offer, the fact that it can follow you on the water at such a distance makes this a very good option for recording your progression.
Cons of using an action tracking camera: most of them are spendy. Ranging in price between $800 and $1100 USD, the action tracking camera is not an impulse purchase for any kiter.
DIY-OB (Do it Yourself on a Budget)
If you’re on a budget, and we definitely understand the need to prioritize your money on kiteboarding lessons and gear, here is a Do-it-Yourself (DIY) option.
Since most of today’s SmartPhone cameras come with a high quality camera, all you need to make decent kiteboarding videos is a phone, some precautionary floatation, duct tape and a selfie stick or tripod.
While a smartphone doesn’t have the same range you get from a telephoto sports lens, there are two ways you can use your phone to capture your kiteboarding action:
-
As we’ve recommended with the action camera above, take turns playing cameraman in the water. Most phones are waterproof, so it’s safe to have one person stand in the water holding the camera (with or without a short selfie stick) while the other kiters throw tricks around the cameraman.
-
You can also use a phone to follow your friends on the water, but we recommend using a selfie stick for this, as it is easy to lose your grip on the camera while kiting.
-
Plant the camera and selfie stick into the ground/sand very close to the water. This works best for shallow water kiting, obviously, or bayside spots like Cape Hatteras in North Carolina where the kiteable water butts right up against the land. You might not get the variety of perspectives from this setup, but it is still a good, inexpensive way to set up a self-video station.
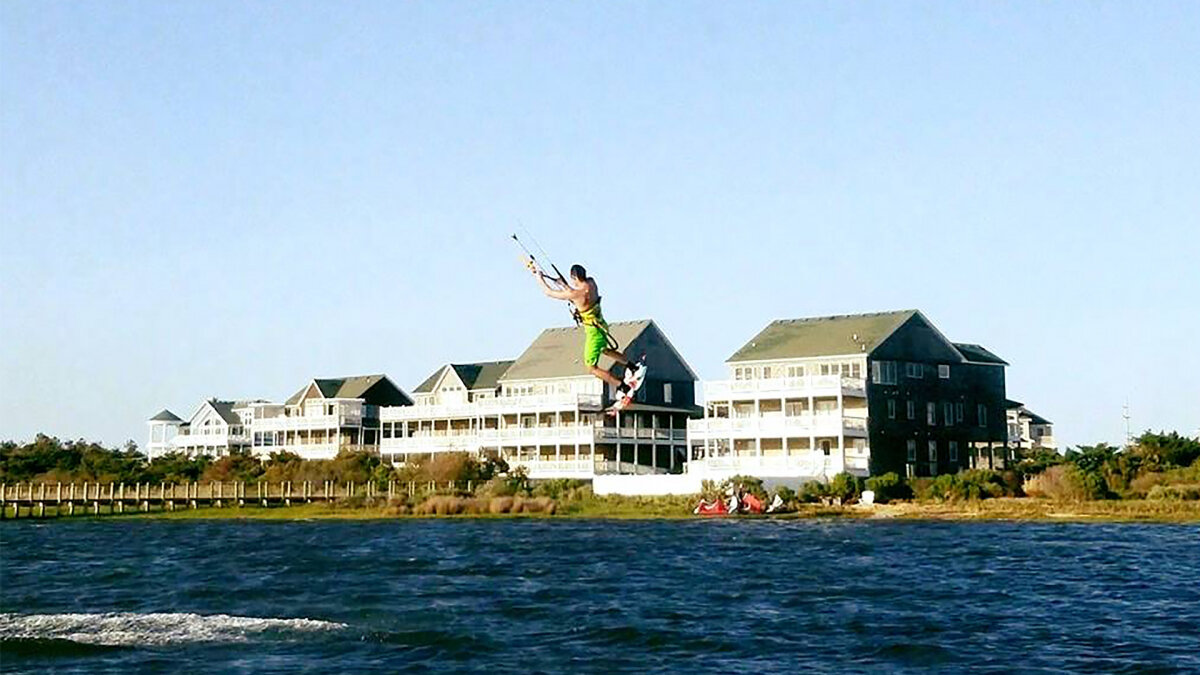
Additional Tips for Capturing Great Photos and Video.
Whether you’re working with a friend or taking selfies, keep these important things in mind when shooting photos and videos:
-
Take pictures in good light! Cloudy, dark days are not ideal for taking photos. Choose a day that is sunny and bright days for capturing your memories.
-
Be aware of the position of the sun when you’re taking photos. It seems obvious, but a lot of people take pictures that seem great in the moment, only to find out later that the kiter’s face was completely in the shade. Make sure that the kiter is facing the sun so you can avoid this issue.
-
Check your camera often for water droplets on the lens before taking the photo. Some of our best photos have been ruined by a water droplet that could have been wiped or licked off before shooting.
-
For action camera users, try out all of the settings. It’s the best way to get to know your device and its capabilities. For those of you who like to get the best results without doing the work for yourself (lol), you can take pro kiter Sam Light’s advice and use 1080 at 120 frames per second.
-
Audio: if you’re going to include any talking in your videos, consider purchasing a microphone cover — aka a dead cat — that pulls out the howling wind from the video.
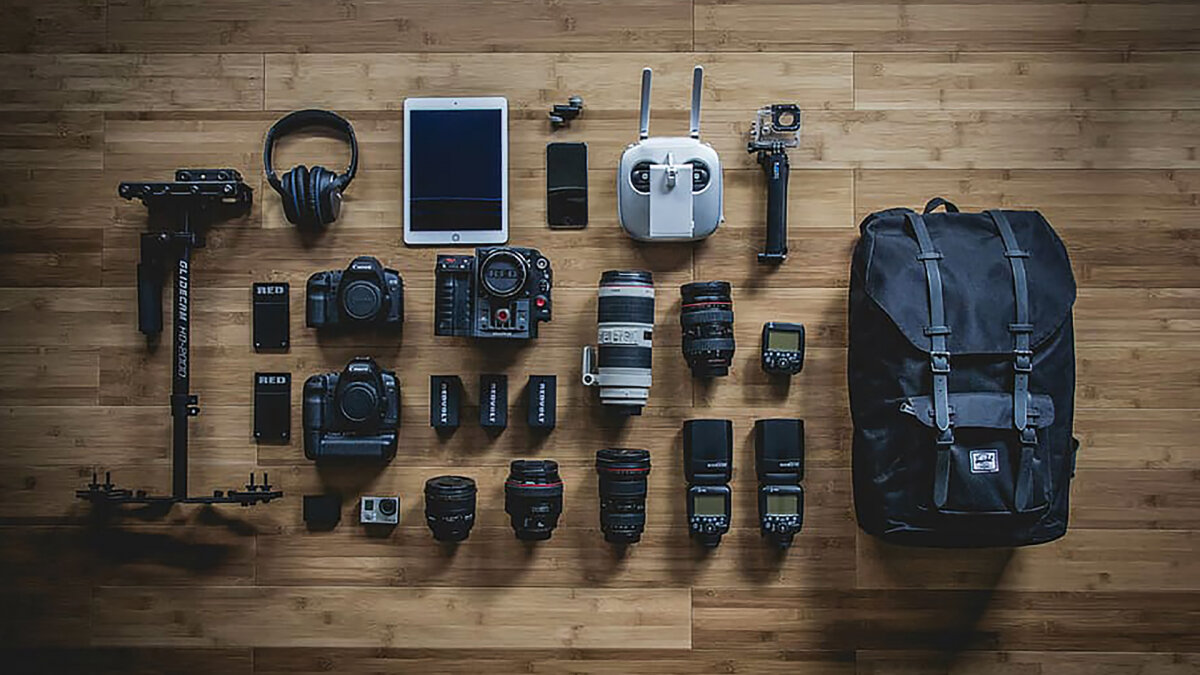
Traveling With Camera Gear
Whether your kiteboarding photoshoot is going to take place at your local spot or your next kiteboarding vacation, packing camera gear is no different than packing any other fragile equipment. Here are a couple quick tips for traveling with camera/video gear:
-
Carry all camera and video gear in your carry-on bag. Even the best packing job isn’t going to protect your camera gear better than having it on you.
-
Keep all of the protective packaging that your camera came with. We don’t necessarily mean the actual box that it was shipped in, but we do mean the styrofoam and protective cushioning that came in the box. If you don’t have the original packaging, use soft clothing to pad the gear.
-
Bring all the camera gear and mounts that you can fit in your bag! It’s like your kite quiver...you always want the size you didn’t bring. So bring all the mounts for your action camera, the tripod for your camera and the home “accessories” for your DIY setup. Vacations, especially in warm water!, are the best time to be practicing your tricks, and you want to catch all the action on film!
So, now let’s get you camera ready!
You’ve got the gear, and you know how to set up the perfect shot, so let’s make sure that your kite skills are camera-ready!
IKO offers Evolution Courses to help you raise the level of your kiteboarding skills. If you’re looking to transition from freeride to freestyle, Evolution Courses will get you in shape to shine on video! Contact your IKO Center for more details and to schedule a lesson. It’s your time to go from independent to amazing!
Author: Kristin Vincenzo
.png)

