Try the new IKO website at https://beta.ikointl.com/

How to Care for Your Kite Equipment
Once you are an independent kiteboarder, congratulations! Get ready to purchase your first set of gear. At this point, you are eager to buy all the latest equipment at the kite shop (or, online with special offers through IKO’s Premium Membership). Kite gear is an investment, and to ensure it lasts multiple seasons, consideration of how to care for your new toys is also essential. So in this blog post, I’m going to get you started on the basics of kite gear maintenance.
Even though kites and boards are built tough, accidental damage can still occur during any session! You might encounter bumps and bruises on your precious gear along the way, and as a kiter you want to be able to identify and fix these common problems. That, and any fine-tuning you do off the water will vastly improve your safety and performance while riding. The point is, don’t wait for your gear to fall apart to address any maintenance issues. Plus, when anything happens to your kite buddy’s gear, you might be able to help them out!

The Basics of Kite Care
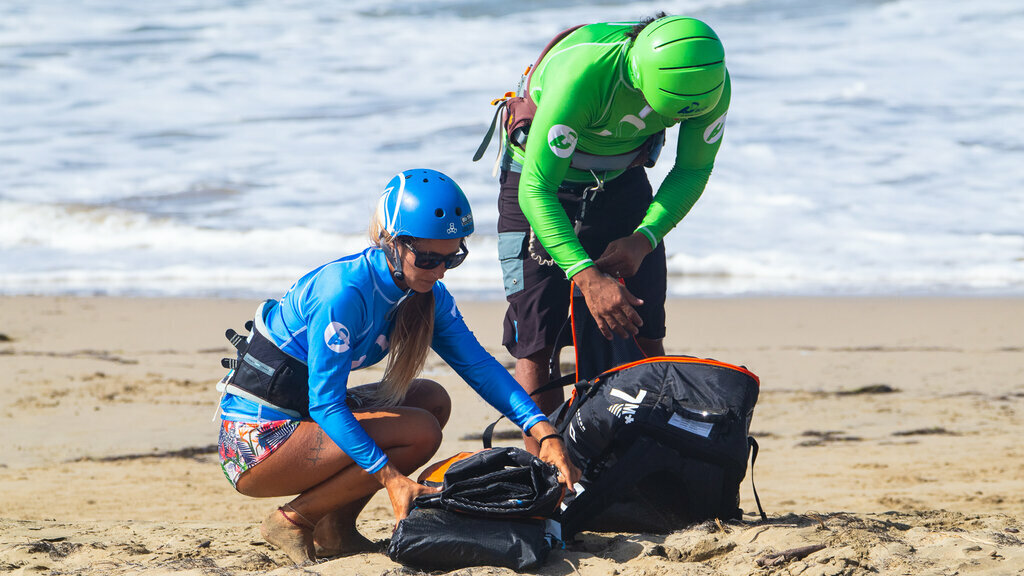
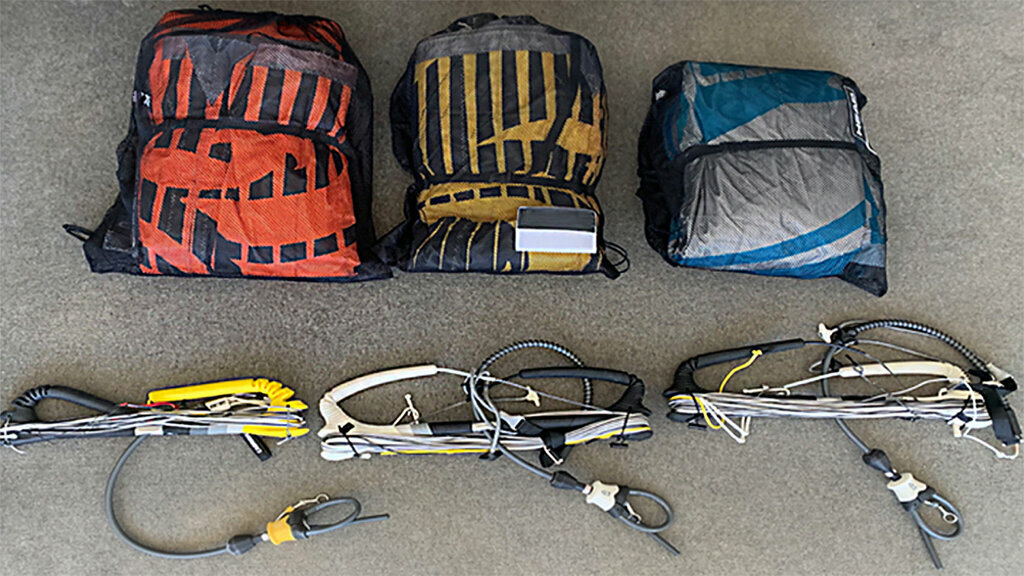
Treating your kites with care is the best way to protect your investment. There are a few things to be aware of right off the bat. First off, keep all of your kites and boards in their protective bags. It might seem obvious, but it goes a long way to reduce travel, sand, and sun damage. Another tip is to avoid leaving your kite rigged on the beach any time you aren’t using it to avoid excessive canopy flapping, sand blow, and UV exposure. Before you put it away, always dry your kite as much as possible. Saltwater leaves behind salt crystals, and so some kiters might rinse their kites with fresh water after each session, although most of us don’t. If you rinse, be sure to dry the kite thoroughly to prevent mold.
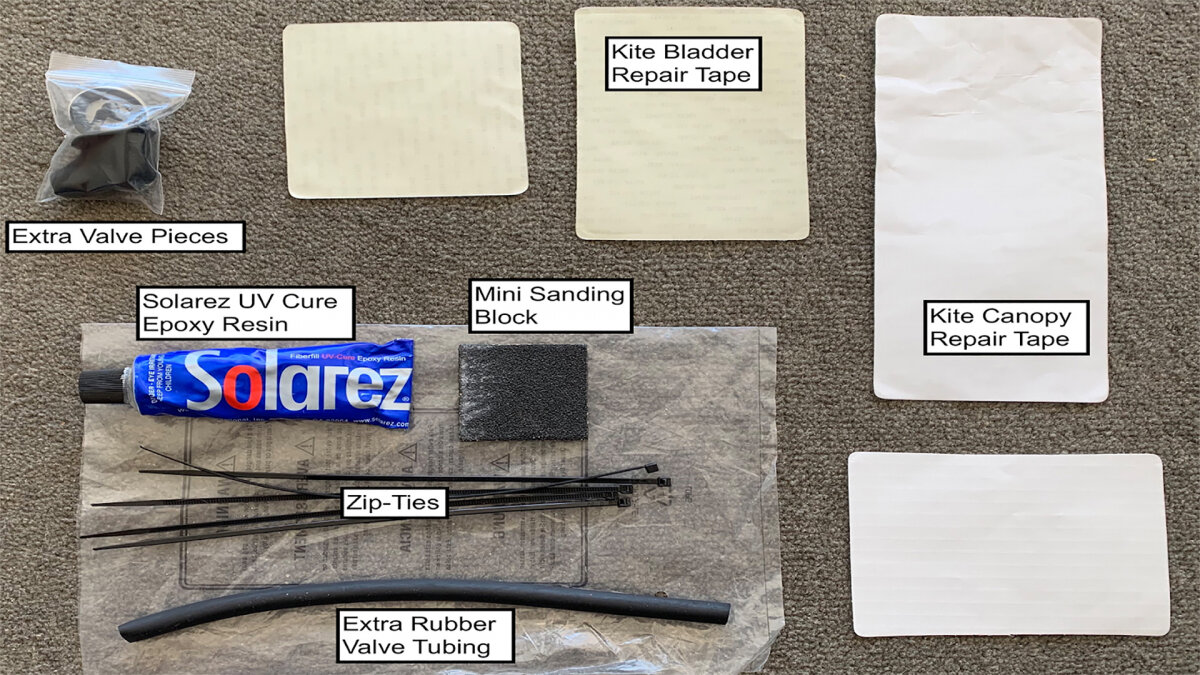
I’m always searching around my kite for any signs of damage. Check your kite canopy before and after every session. That way, if you notice any weakening, you might prevent a more serious repair. Any time you identify finger-sized or smaller holes in the nylon canopy, fix with kite repair patches. Apply them to both sides of the fabric, reinforcing an area at least double in length. Round the edges of the patch with scissors and clean the canopy with alcohol for better adhesion. Keep in mind that patches only work for small areas, so have your kite re-stitched at a professional shop for anything larger.
In addition to checking the canopy, keep tabs on all the other parts of the kite. Open the inflation valve and remove any sand from the plastic threading. Next, check the rubber O-ring, and all of the hoses and valves connecting the leading edge and the struts. Last, check the bridle lines for any signs of fraying or damage in the ropes and pulleys. Replacement parts on kites are easy to obtain, and they are far less expensive than buying new gear.
Air leaks are another common problem in kites. To repair air leaks, first, locate the source. Inflate the kite and look for air bubbles in a pool or bath. Or, spray it down with soapy water. This gives you a general idea of which part of the internal bladder is leaking. For small holes, clean the area with alcohol and then cover with a rubber repair patch. Ensure there are no wrinkles, otherwise, air can escape. After, test if the bladder holds air and then re-insert it into the kite. Do not patch if you see holes larger than a finger or if there are multiple damaged areas. With larger holes, replace the part for safety.

Control Bar & Line Care
To optimize your kite's performance, take care of your bar and lines. When your bar is brand new, all four lines are even. But over time, lines stretch from riding and you will want to re-calibrate them back to the same length. Apart from tuning your lines, check all the bar’s other safety features before every session. Clean your bar and lines with fresh water as saltwater leaves behind sand and other debris. If you notice damage to any part of your bar or lines, bring it to a professional and have them repair it.
To check your lines, unwind and attach all four ends to a fixed object. Start out by checking the left and right steering lines. Hold one steering line in each hand with loose tension. Compare to see if one side hangs below the other. If the right is longer than the left, for example, you would need to stretch the left line to compensate for the difference. To do this, loop the left line around your harness hook and lean back until they are even. Or, your control bar might have different knots tucked inside the bar floaters for this purpose. The second step is to check your power lines with the same test and adjust as needed. Last, you test the even-ness of the steering lines and power lines. Pull the bar towards you to see if it touches the plastic above the chicken loop. If the bar doesn’t make it, elongate the steering lines. Or, simply attach the lark’s head knot to the “low power” setting on the kite bridle during rigging.

Board Maintenance and Tuning
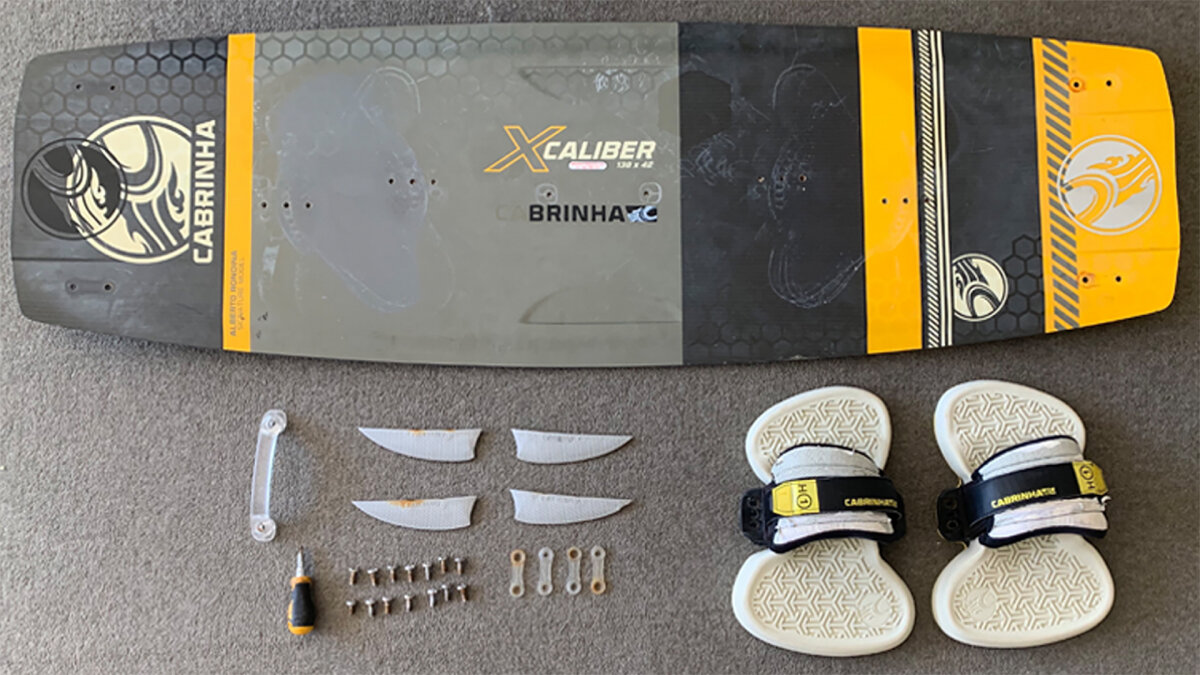
Whether you use freestyle, surf, or hydrofoil kiteboards, regular board tuning improves your ride. Chips, dents, and cracks are the most common types of board damage you will see. To repair finger-sized or smaller surface dings on most kiteboards, you can use a quick-cure epoxy resin such as Solarez or superglue. Before applying the resin, remove all the excess water from the damaged area. Lightly score the cracked area with a mini sanding block or fine-grain sandpaper. Fill the chip and cover with plastic wrap during curing to make a flat surface. The resin then acts as a water seal. For any board damage deeper than half an inch, or, larger than the size of your palm, consult an IKO Center.
Beyond fixing board dings, there are few things to check on your board before and after each session. For twintips, check all foot strap, handle, and fin mounting holes for sand and tighten all screws with a Phillips-head as needed. For surfboards, check the fin boxes with a surf fin key, and apply surf wax onto the board deck if desired for added grip. For hydrofoils, you need to check and re-tighten the screws in the fuselage, wing, and mast parts before every session. Applying a marine-grade lubricant into screw holes on hydrofoil and other kiteboards prevents screws from bonding to the board inserts. I enjoy tailoring my kites and boards to fit my personal riding style, and I encourage you to do the same – just stay safe.
Remember to take care of your gear so it lasts for years. And when in doubt, ask an expert. For any other questions on kite care, become an IKO member and get in contact with an affiliated center today!
Author: Daniel Plautz
.png)

